| Control Panel |
| Control Panel |
|
|
|
The control panel was the other difficult part of the project. As I've mentioned before, I'm not the most handy person, so building a new wooden control panel box was out of the question. I have a metal control panel which is more difficult to put controls into also. I didn't have a lot of space for joysticks and buttons so I decided at first to make swappable control panels. I used this setup for almost 2 years. I made 5 panels but found it still wasn't good enough. I wanted to do more combinations of controls but not have to make lots of full panels and buy duplicates of expensive controls like spinners and trackballs. I also wanted to use the original controls which are hard to find and aren't practical for dedicating an entire panel to. My solution to these issues was going to a modular panel. I now have the flexibility to do just about anything! |
|
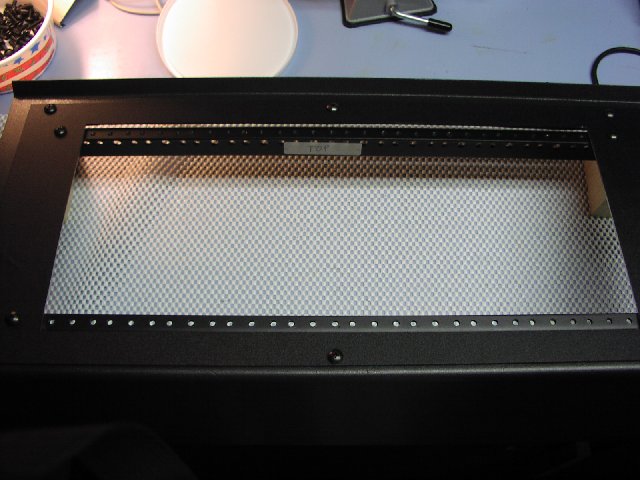
The control panel in the state I got it had a large rectangle cut out of the middle with another piece of metal attached via torque screws which had the holes for the joysticks/buttons. It was suggested to put rivet nuts around the outside of the hole and then use a steel plate to hold the controls. I could have used the existing opening but it just didn't look very good and since I had already used the 10x22 sheet metal panels for my older swappable panels, I opted to just make yet one more panel but have it be modular. This turned out to be a good choice because the steel plate makes the whole assembly a lot more rigid. Plus it can be easily removed. To make this panel I brought one of the 10x22 sheet metal plates to a machine shop and they cut out a rectange using a plasma cutter. I was surprised at how accurate the cut was. I also painted the panel w/ black Hammerite paint. Below is the sheet metal plate attached to the cp.
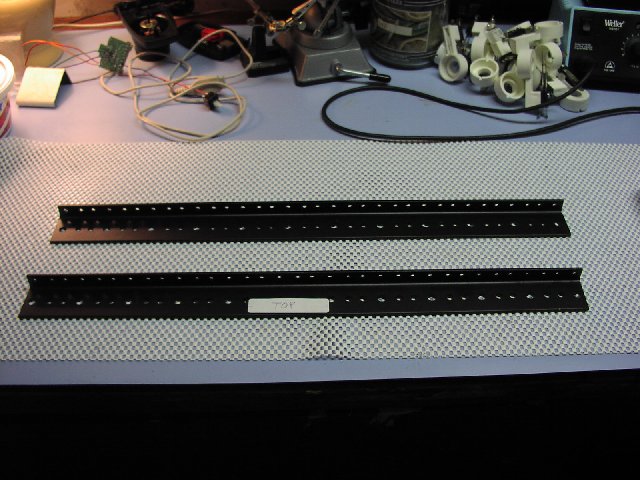
The idea I came up with was to use standard rack mount parts. The control modules are attached to standard rack rails.
The rails are attached to the sheet metal panel on the top and bottom and sunk low enough to make the modules lie flush with the top.
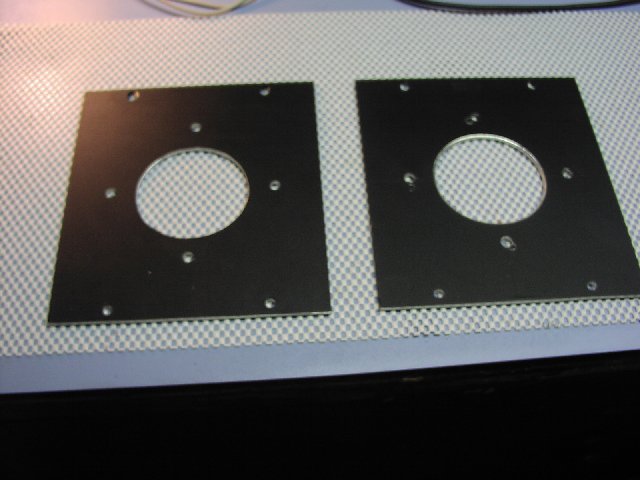
The controls themselves are mounted to rack mount blanker panels of different sizes (1U, 2U, 3U, etc). This allowed for there to be no gaps between them and I didn't have to make them. I had the blank panels, which are 19" long, cut into 2 8" peices and had the holes on the ends added to the ones that didn't have them.
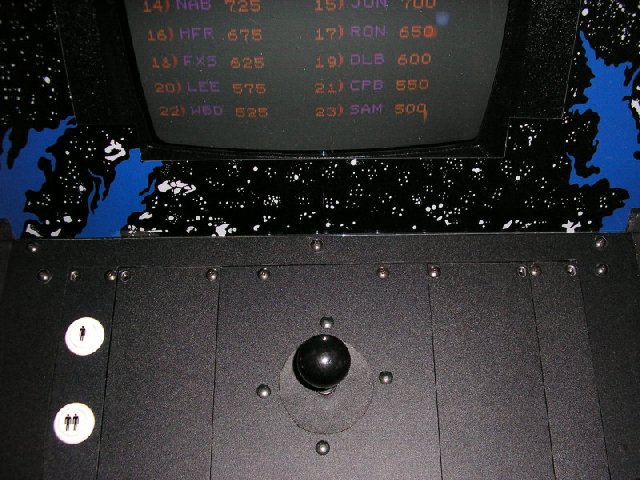
The blanker panels are 1/8" aluminum which is *very* sturdy and much easier to cut through than plate steel. It takes me about a minute to do a 1 1/8" hole now rather than 10+ minutes with the steel. These are the ones used for 3" Happs trackballs. Standard rack mount 10/32 screws hold these down.
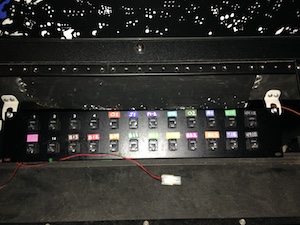
I previously used molex connectors to be able to switch between controls. I now use Ethernet cables along w/ a patch panel and pass thru 'keystone' jacks. I just plug the modules into the jacks. The molex shown is to power things like the light under the trackball. I have also colored coded the ends of the ethernet jacks so I know where they go.
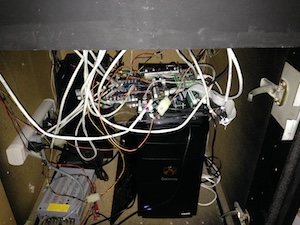
Here you can see the rats nest of the inside of the cabinet. The ethernet cables are going to strip terminals and then going to the IPAC/OptiPAC/A-Pac/GPWiz 49. They plug into the opposite side of the punch panel since I used what are called "passthru" jacks. Makes it a lot easier than crimping.
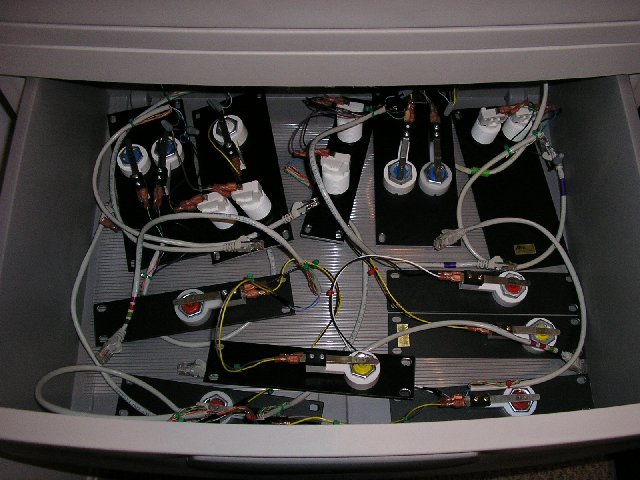
This is the board all of the interfaces is mounted to. These are necessary to connect the classic controls to the computer.
|
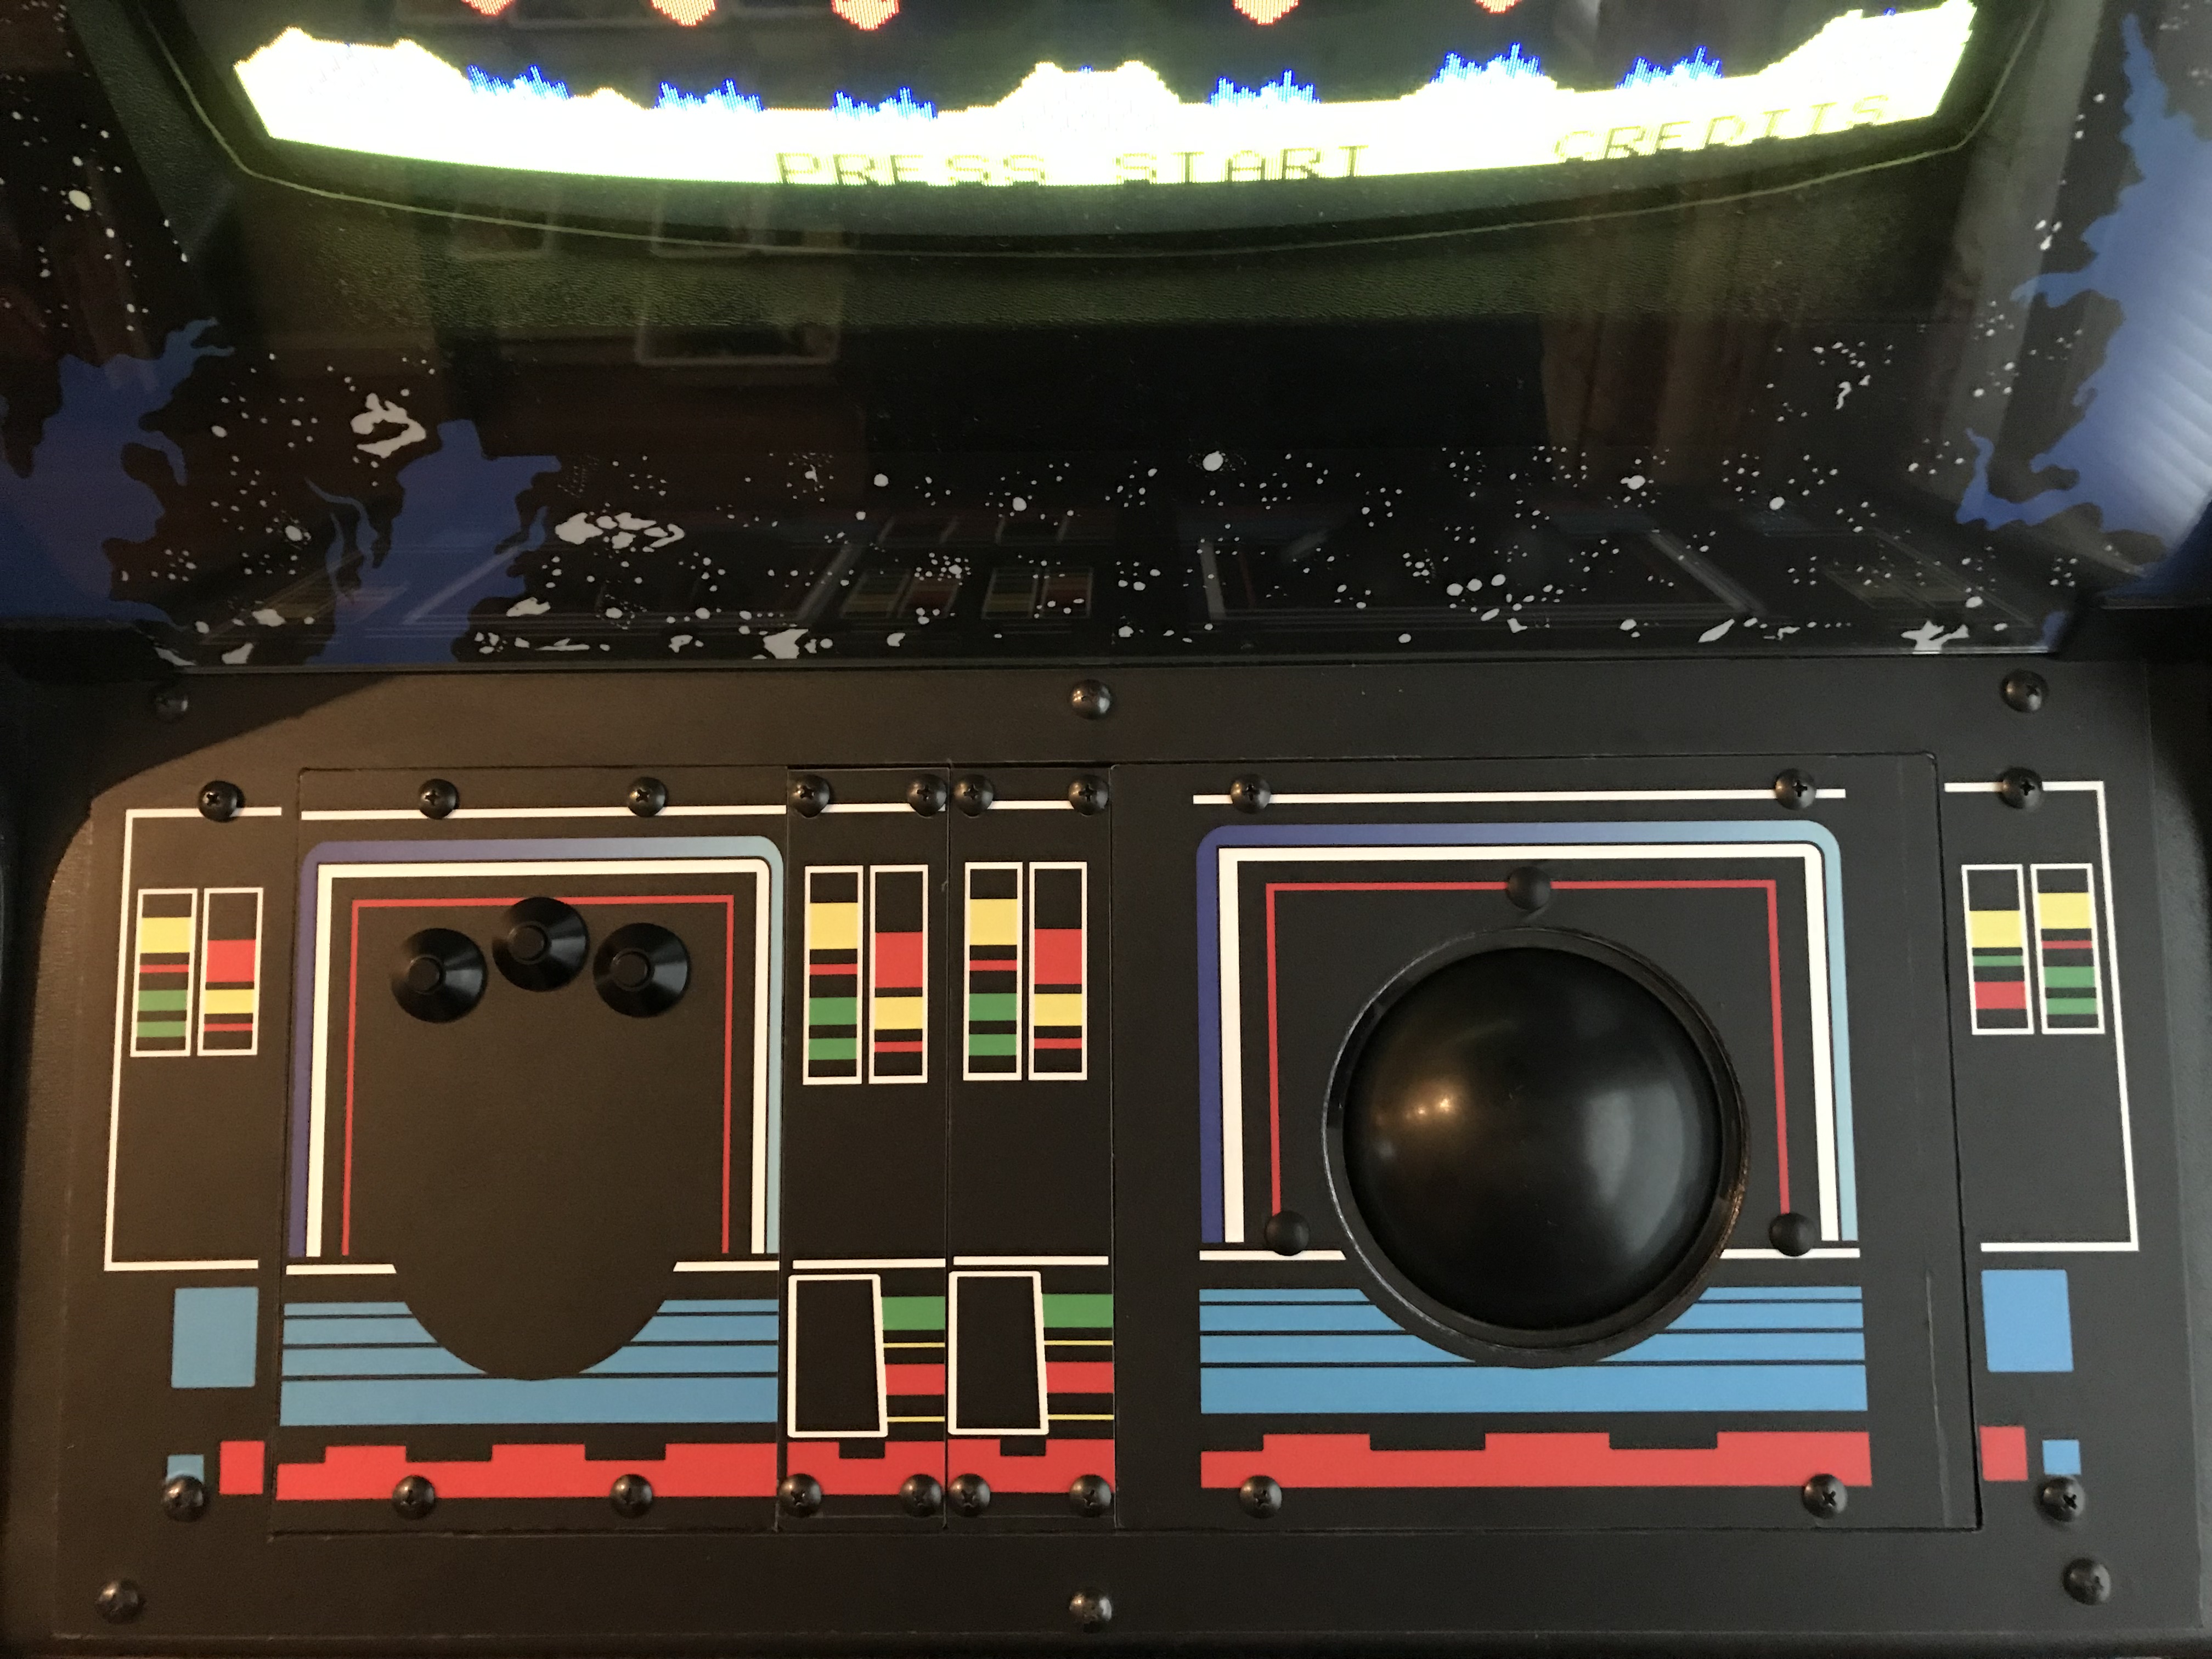
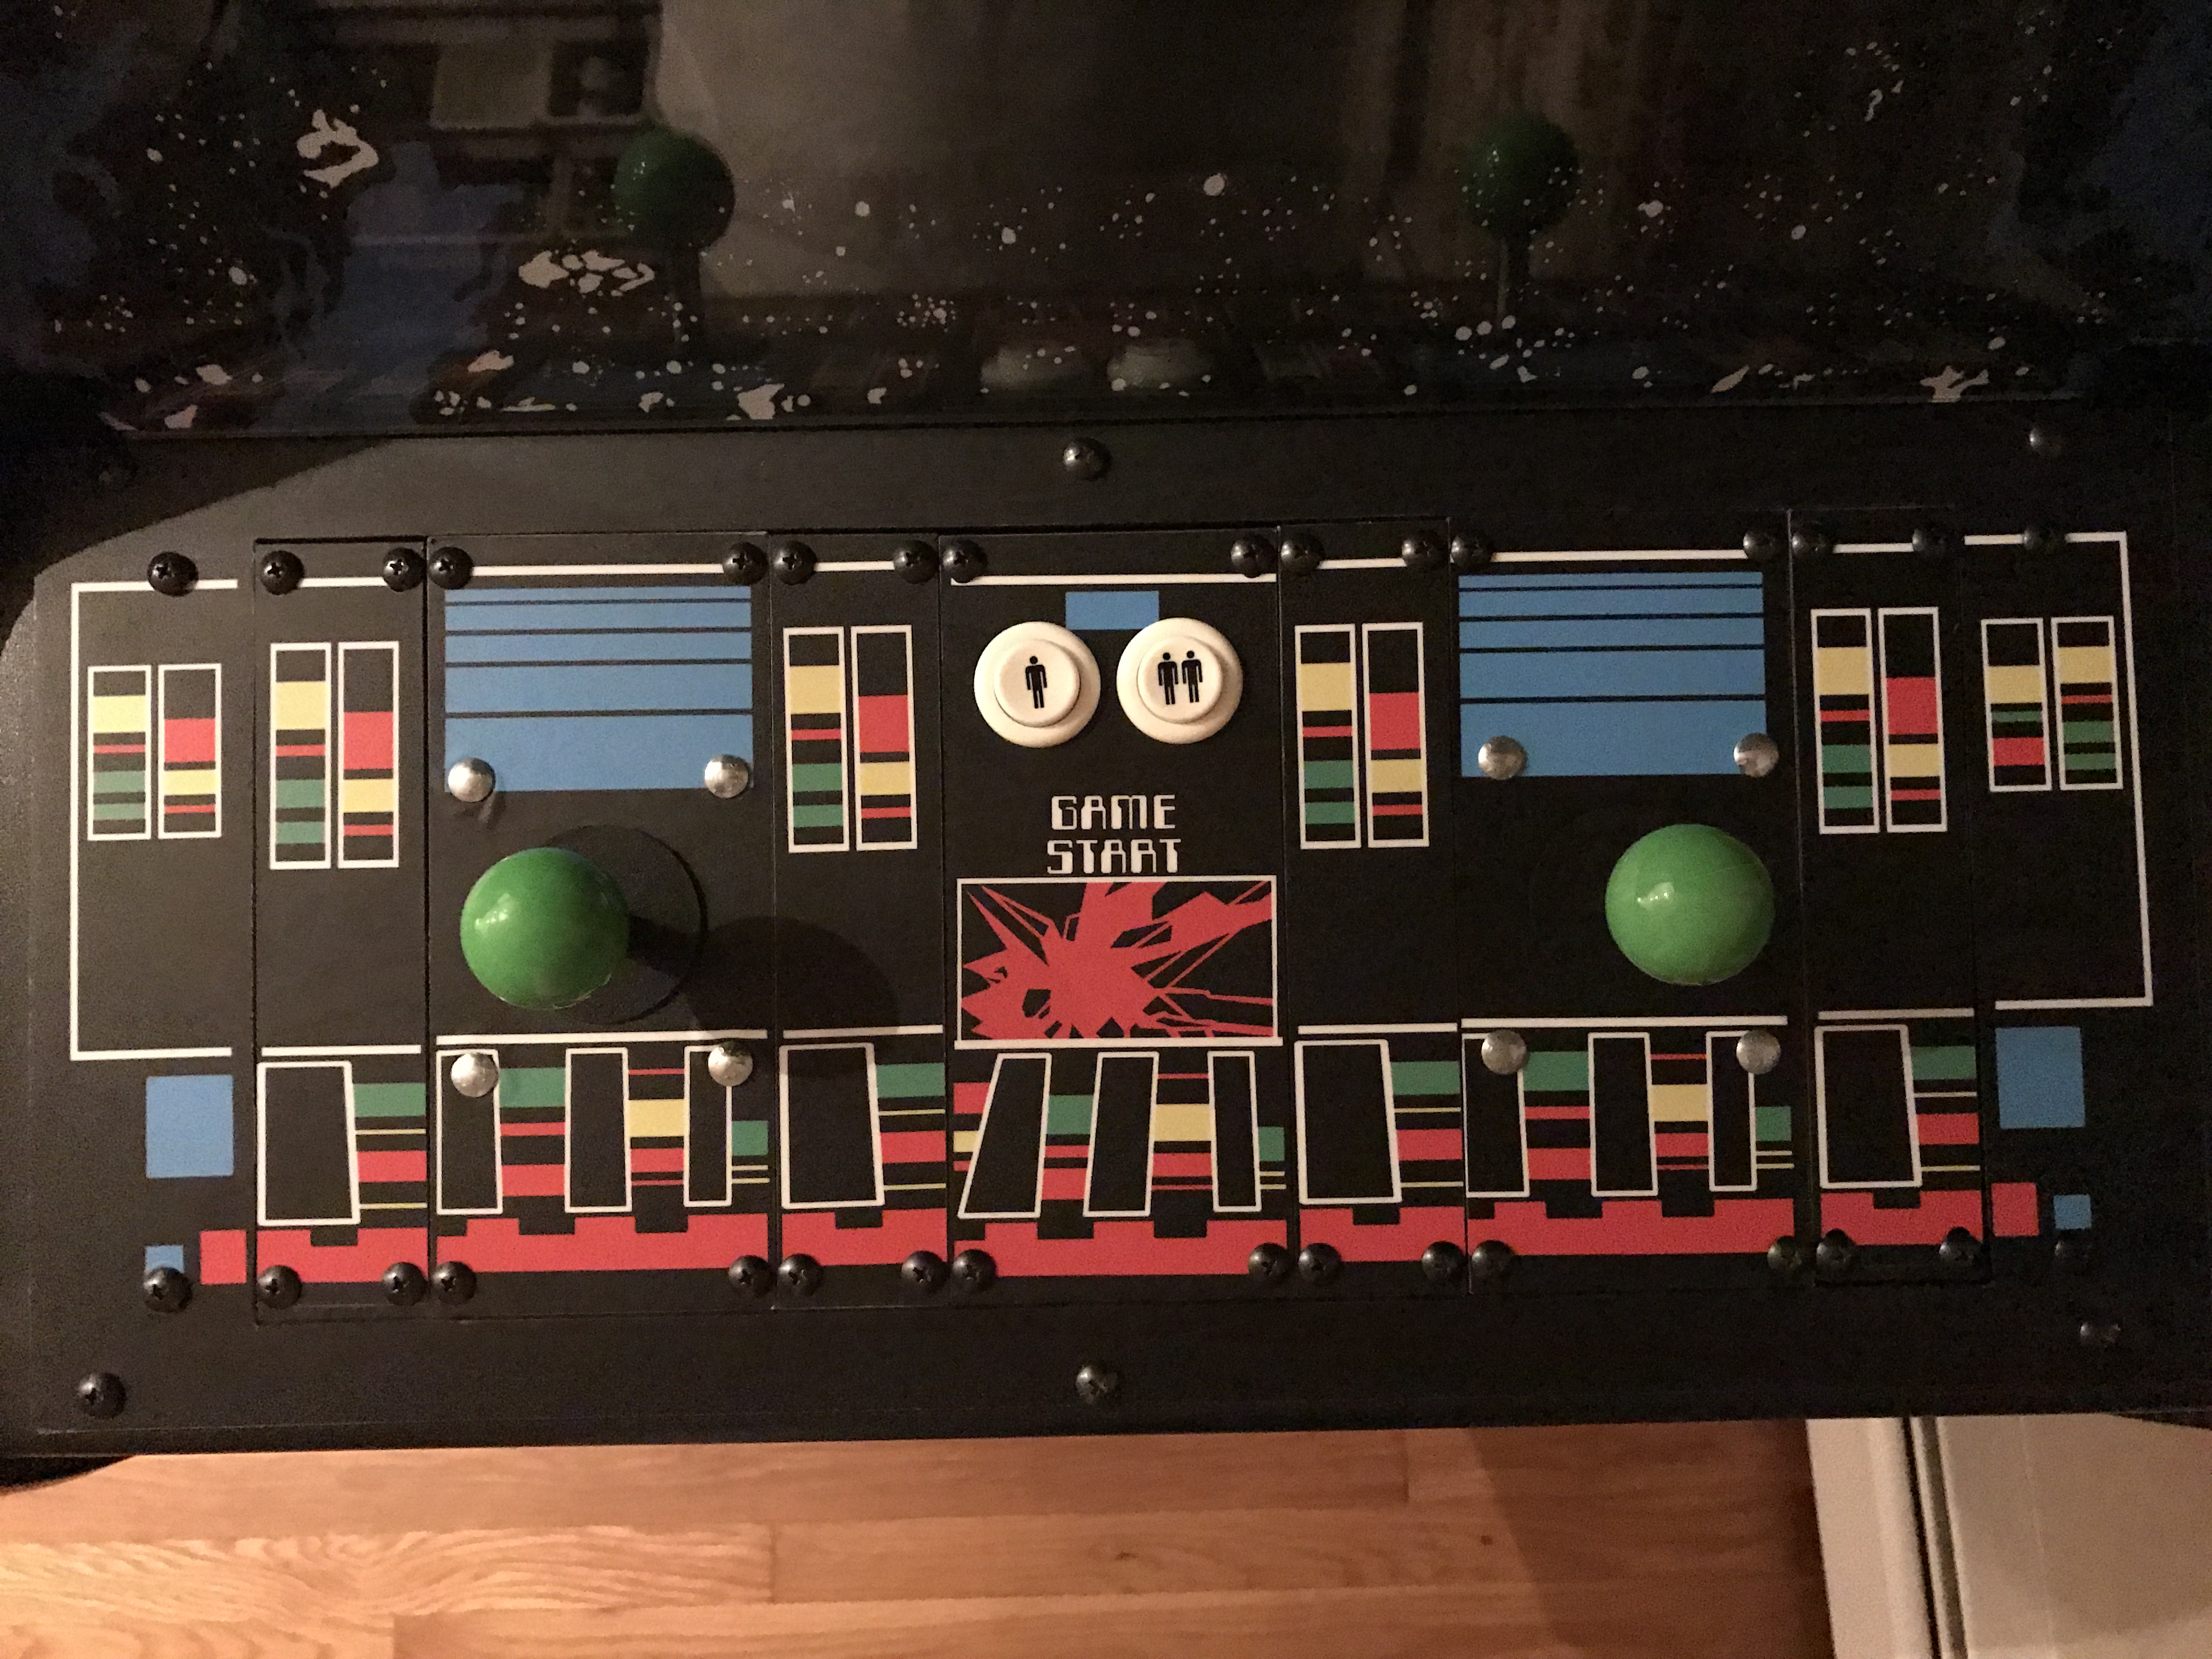
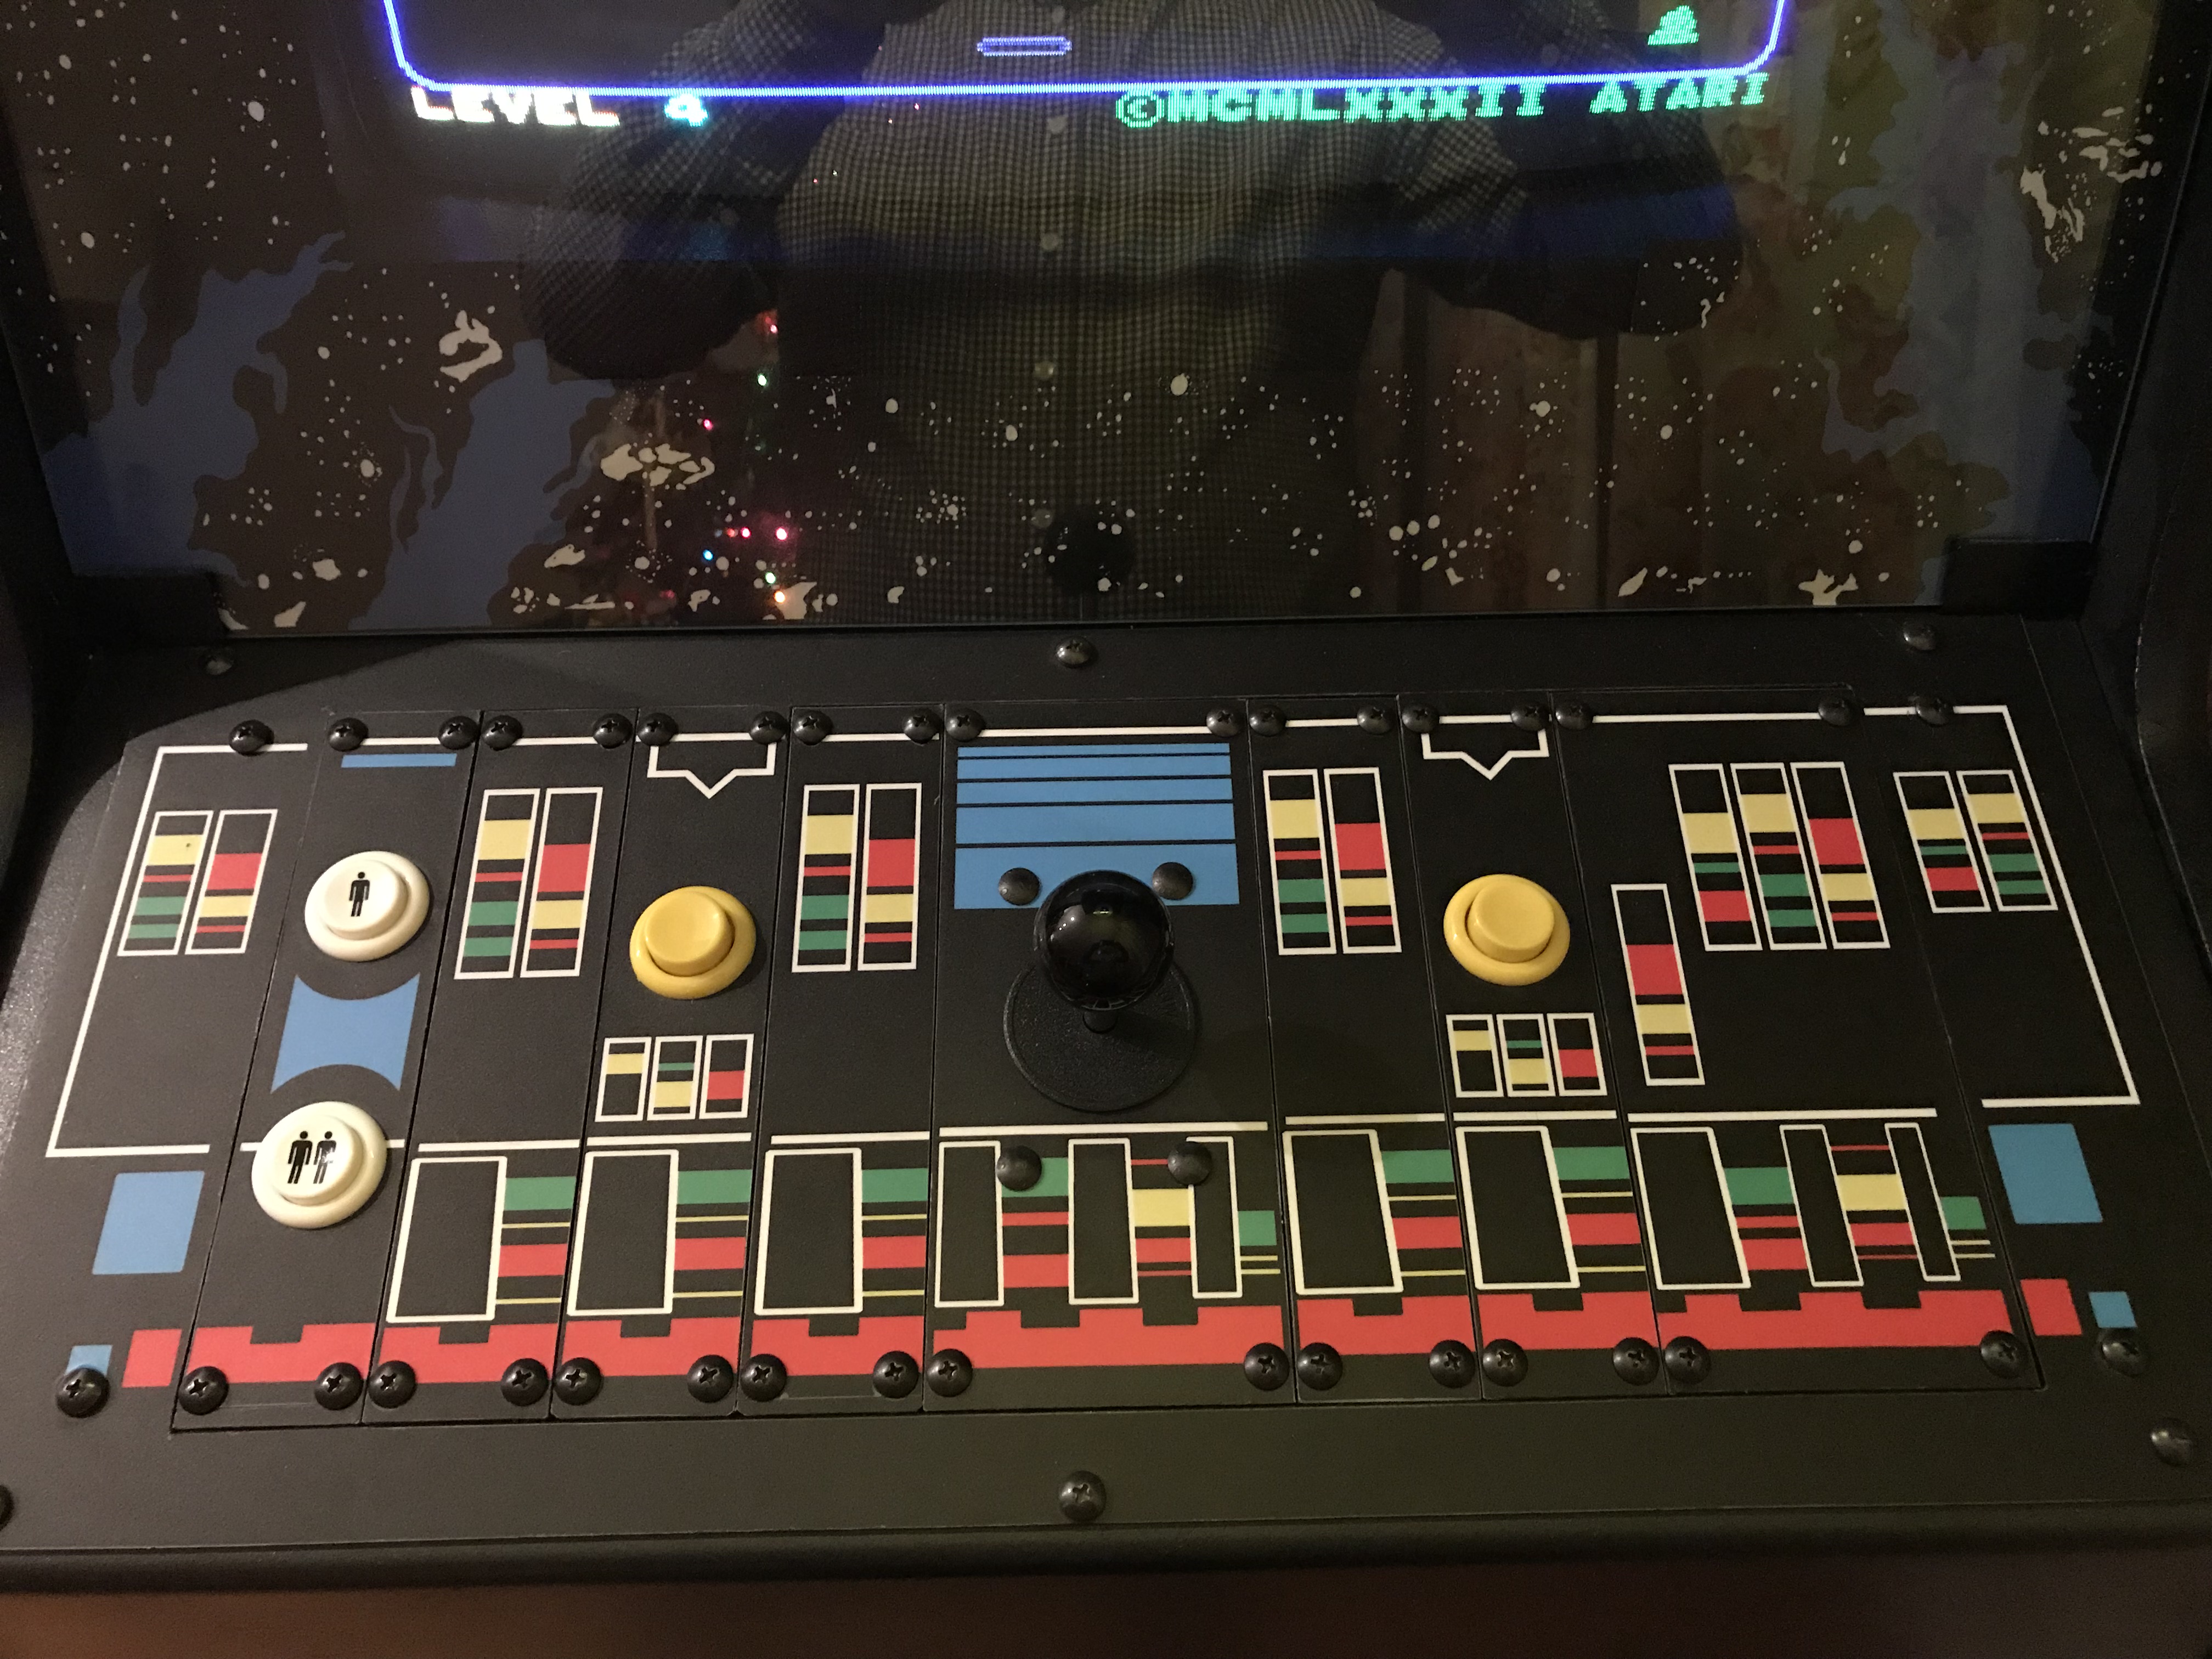
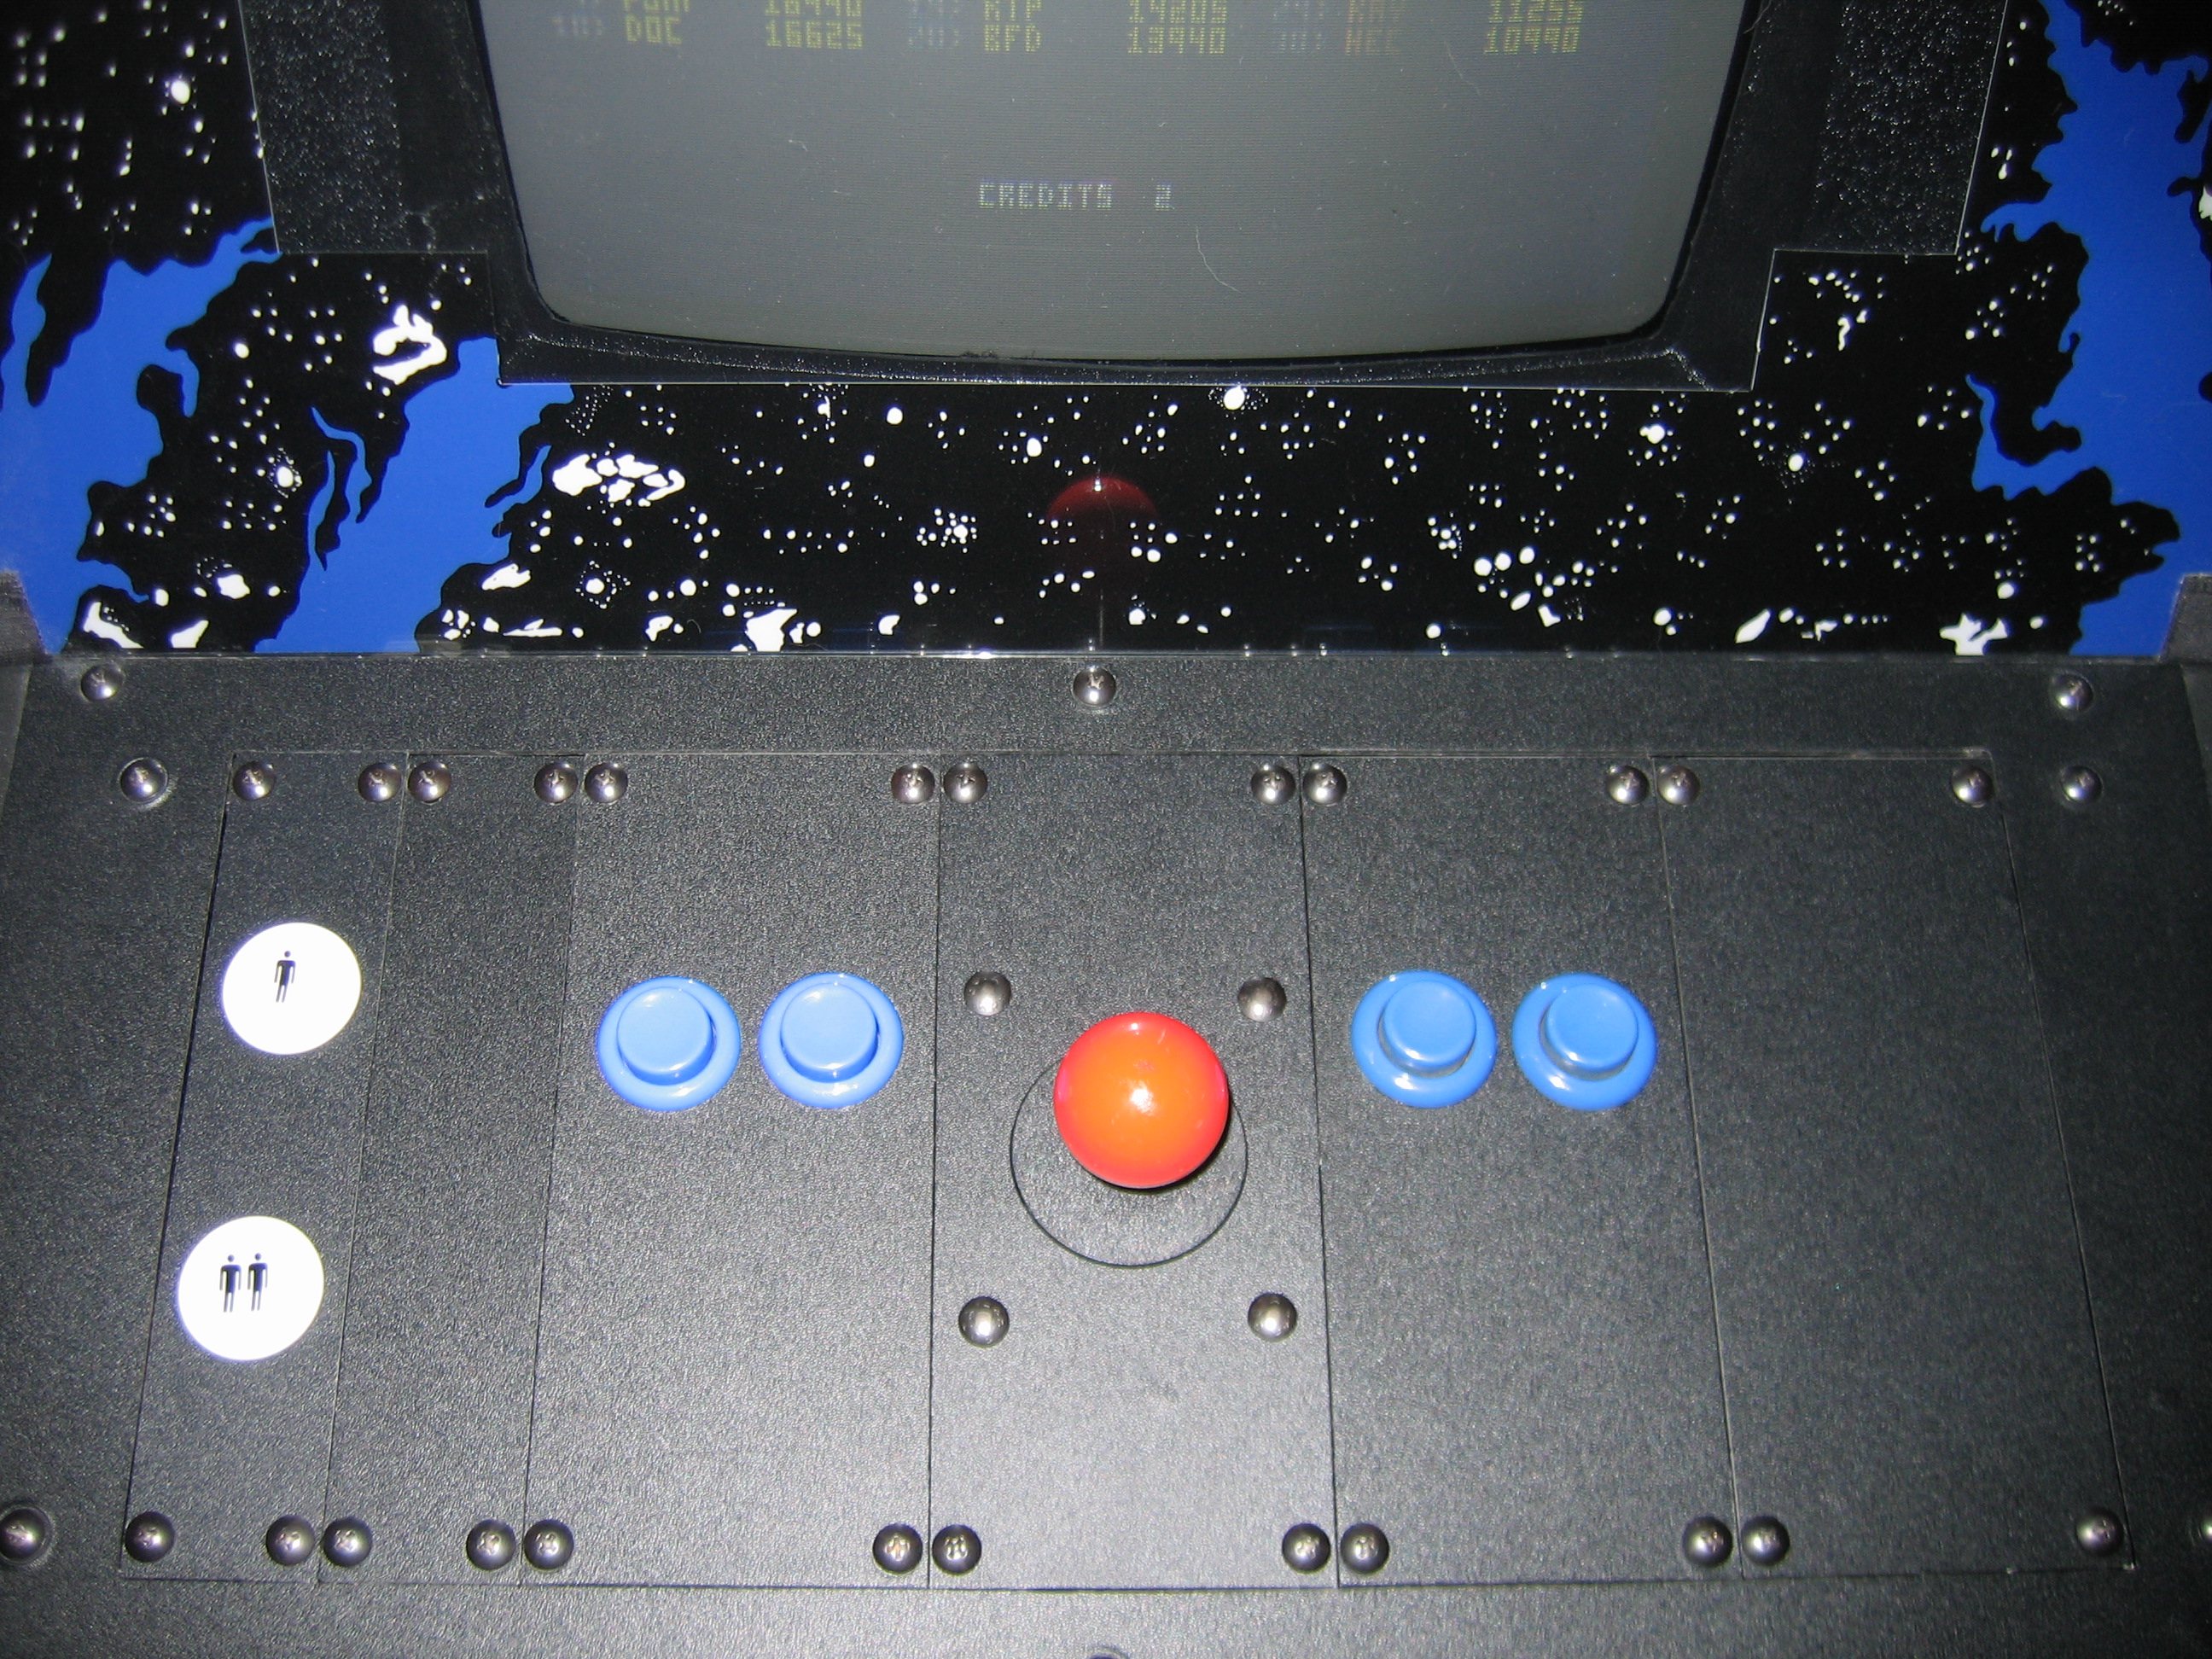
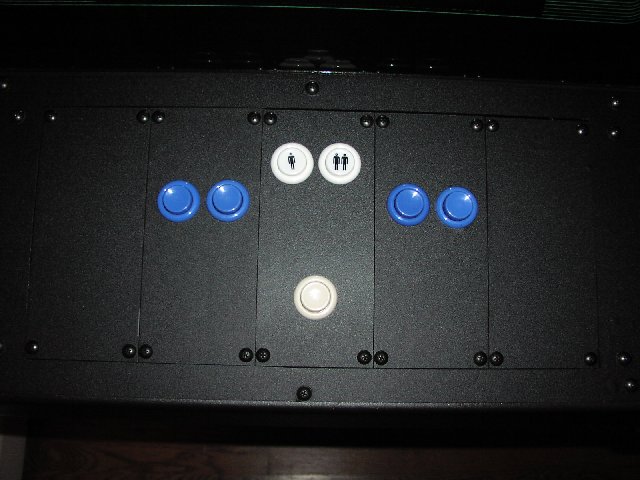
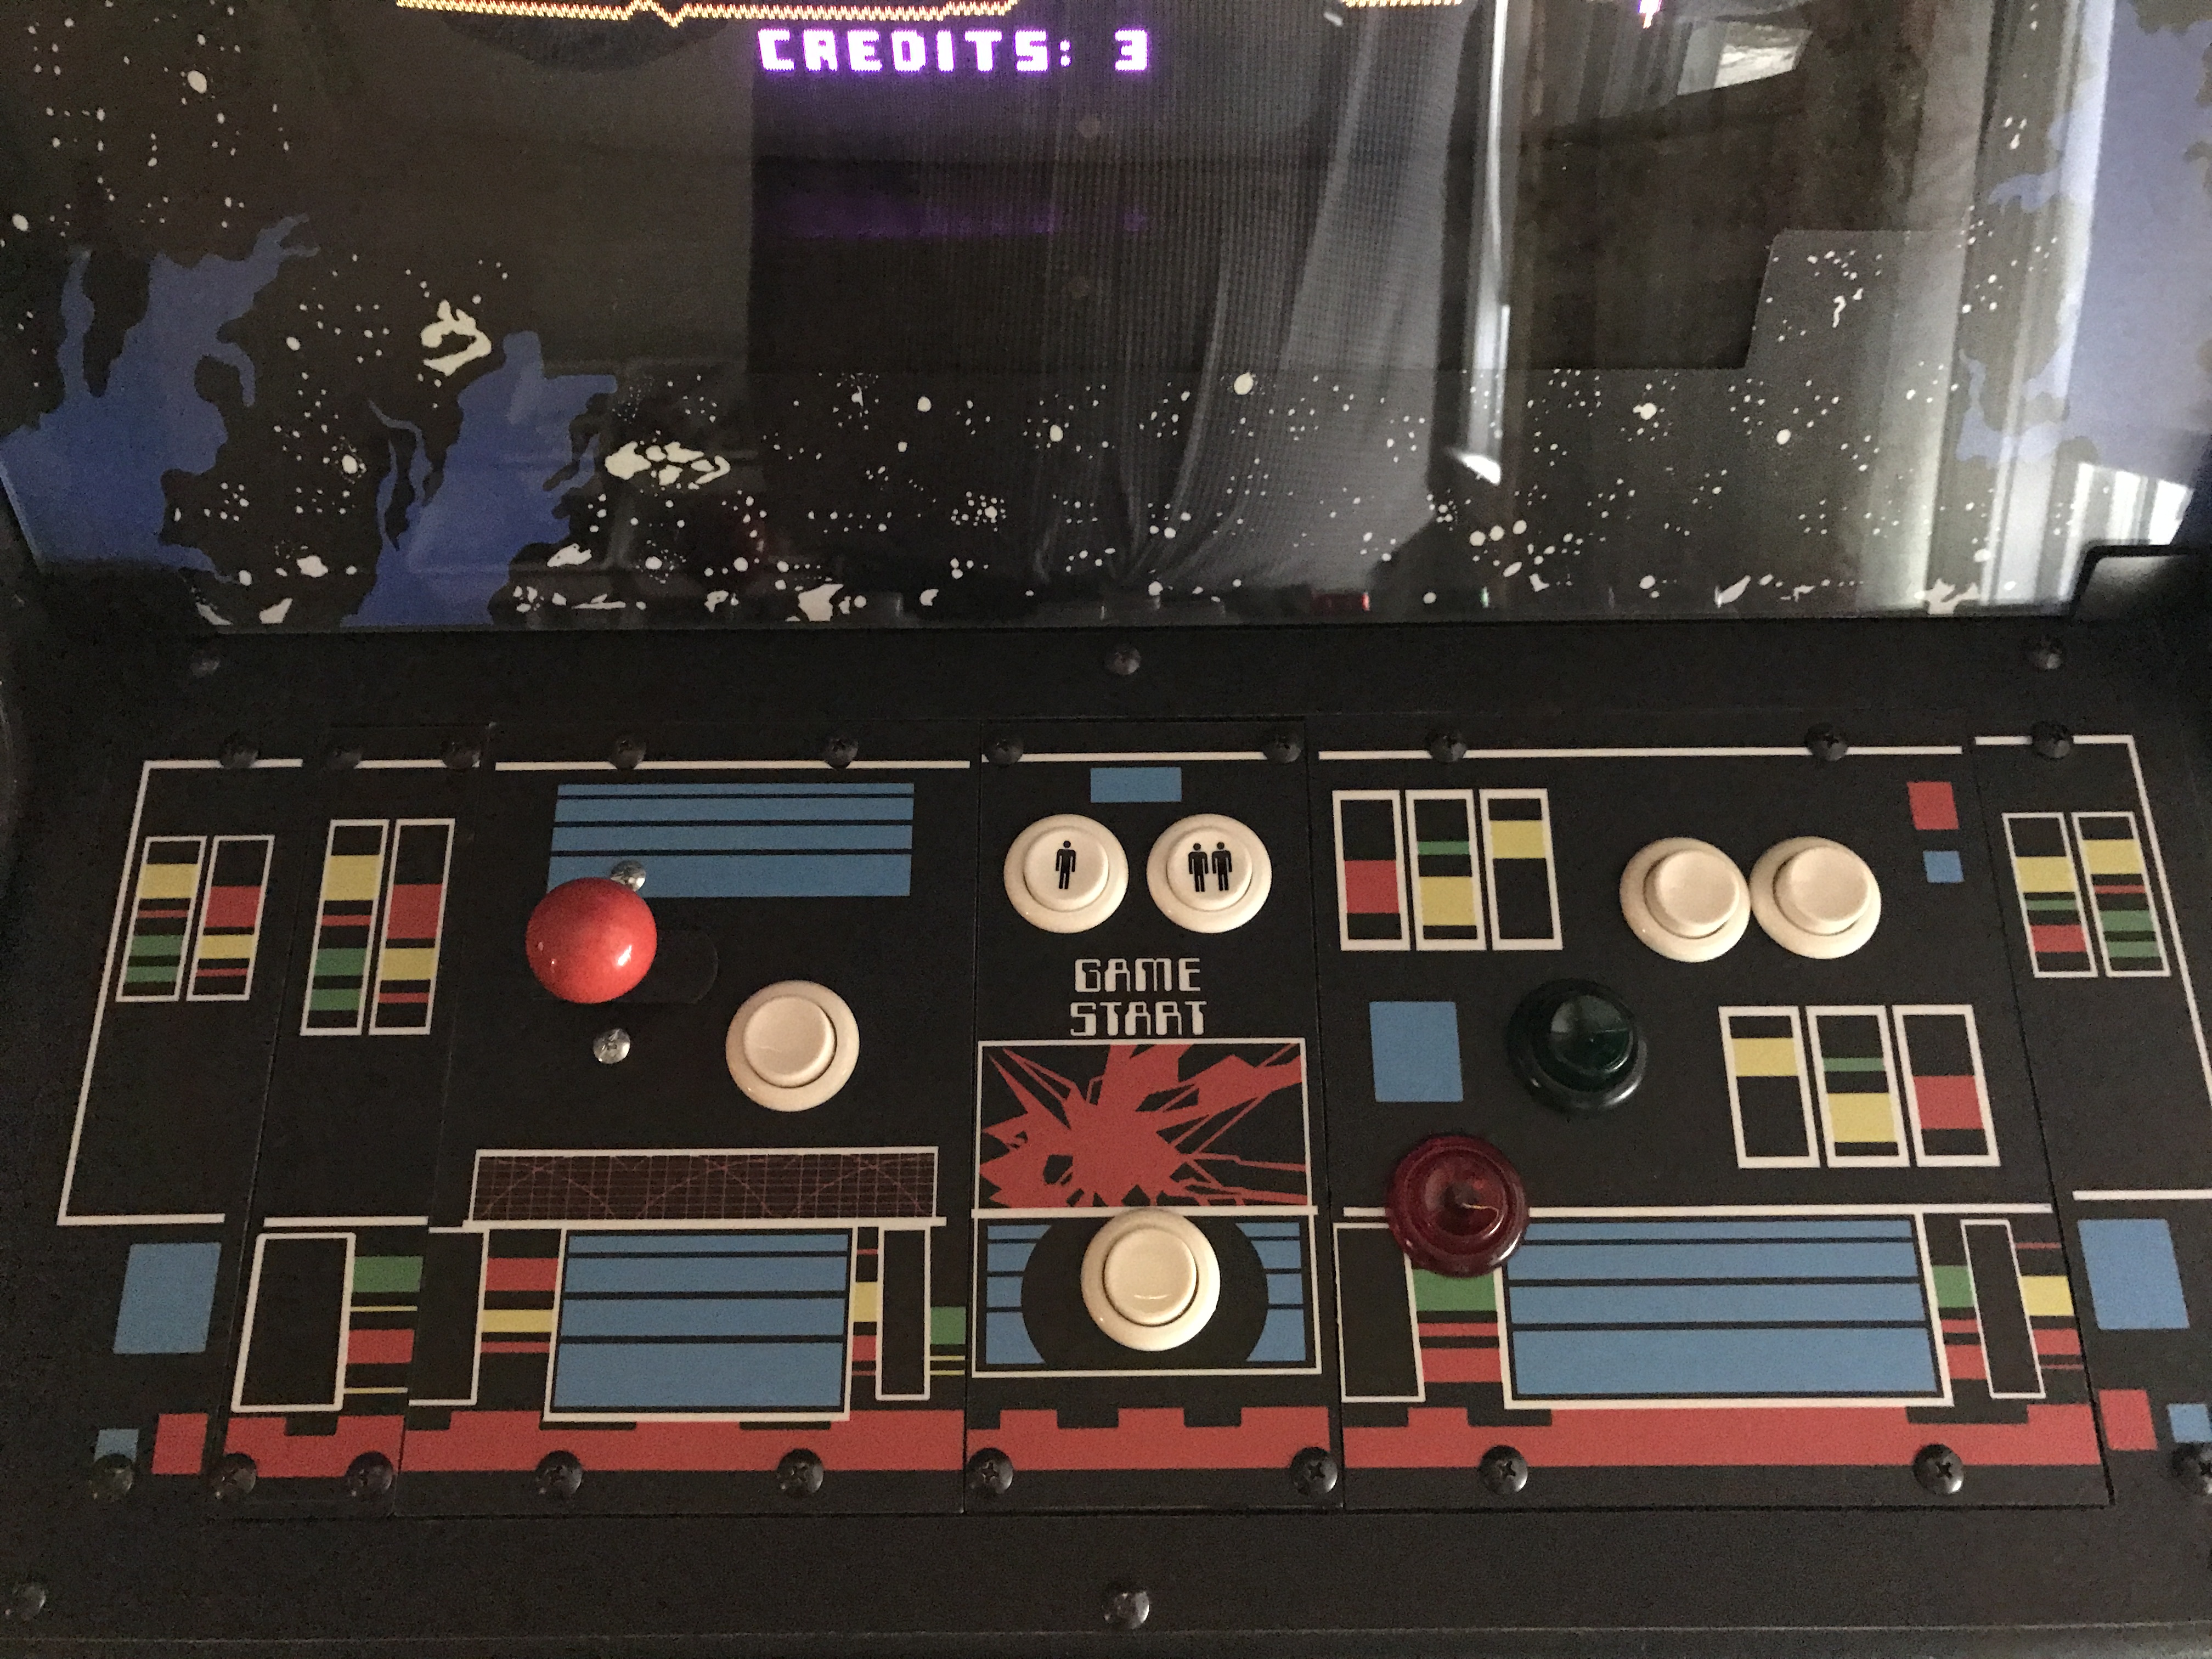
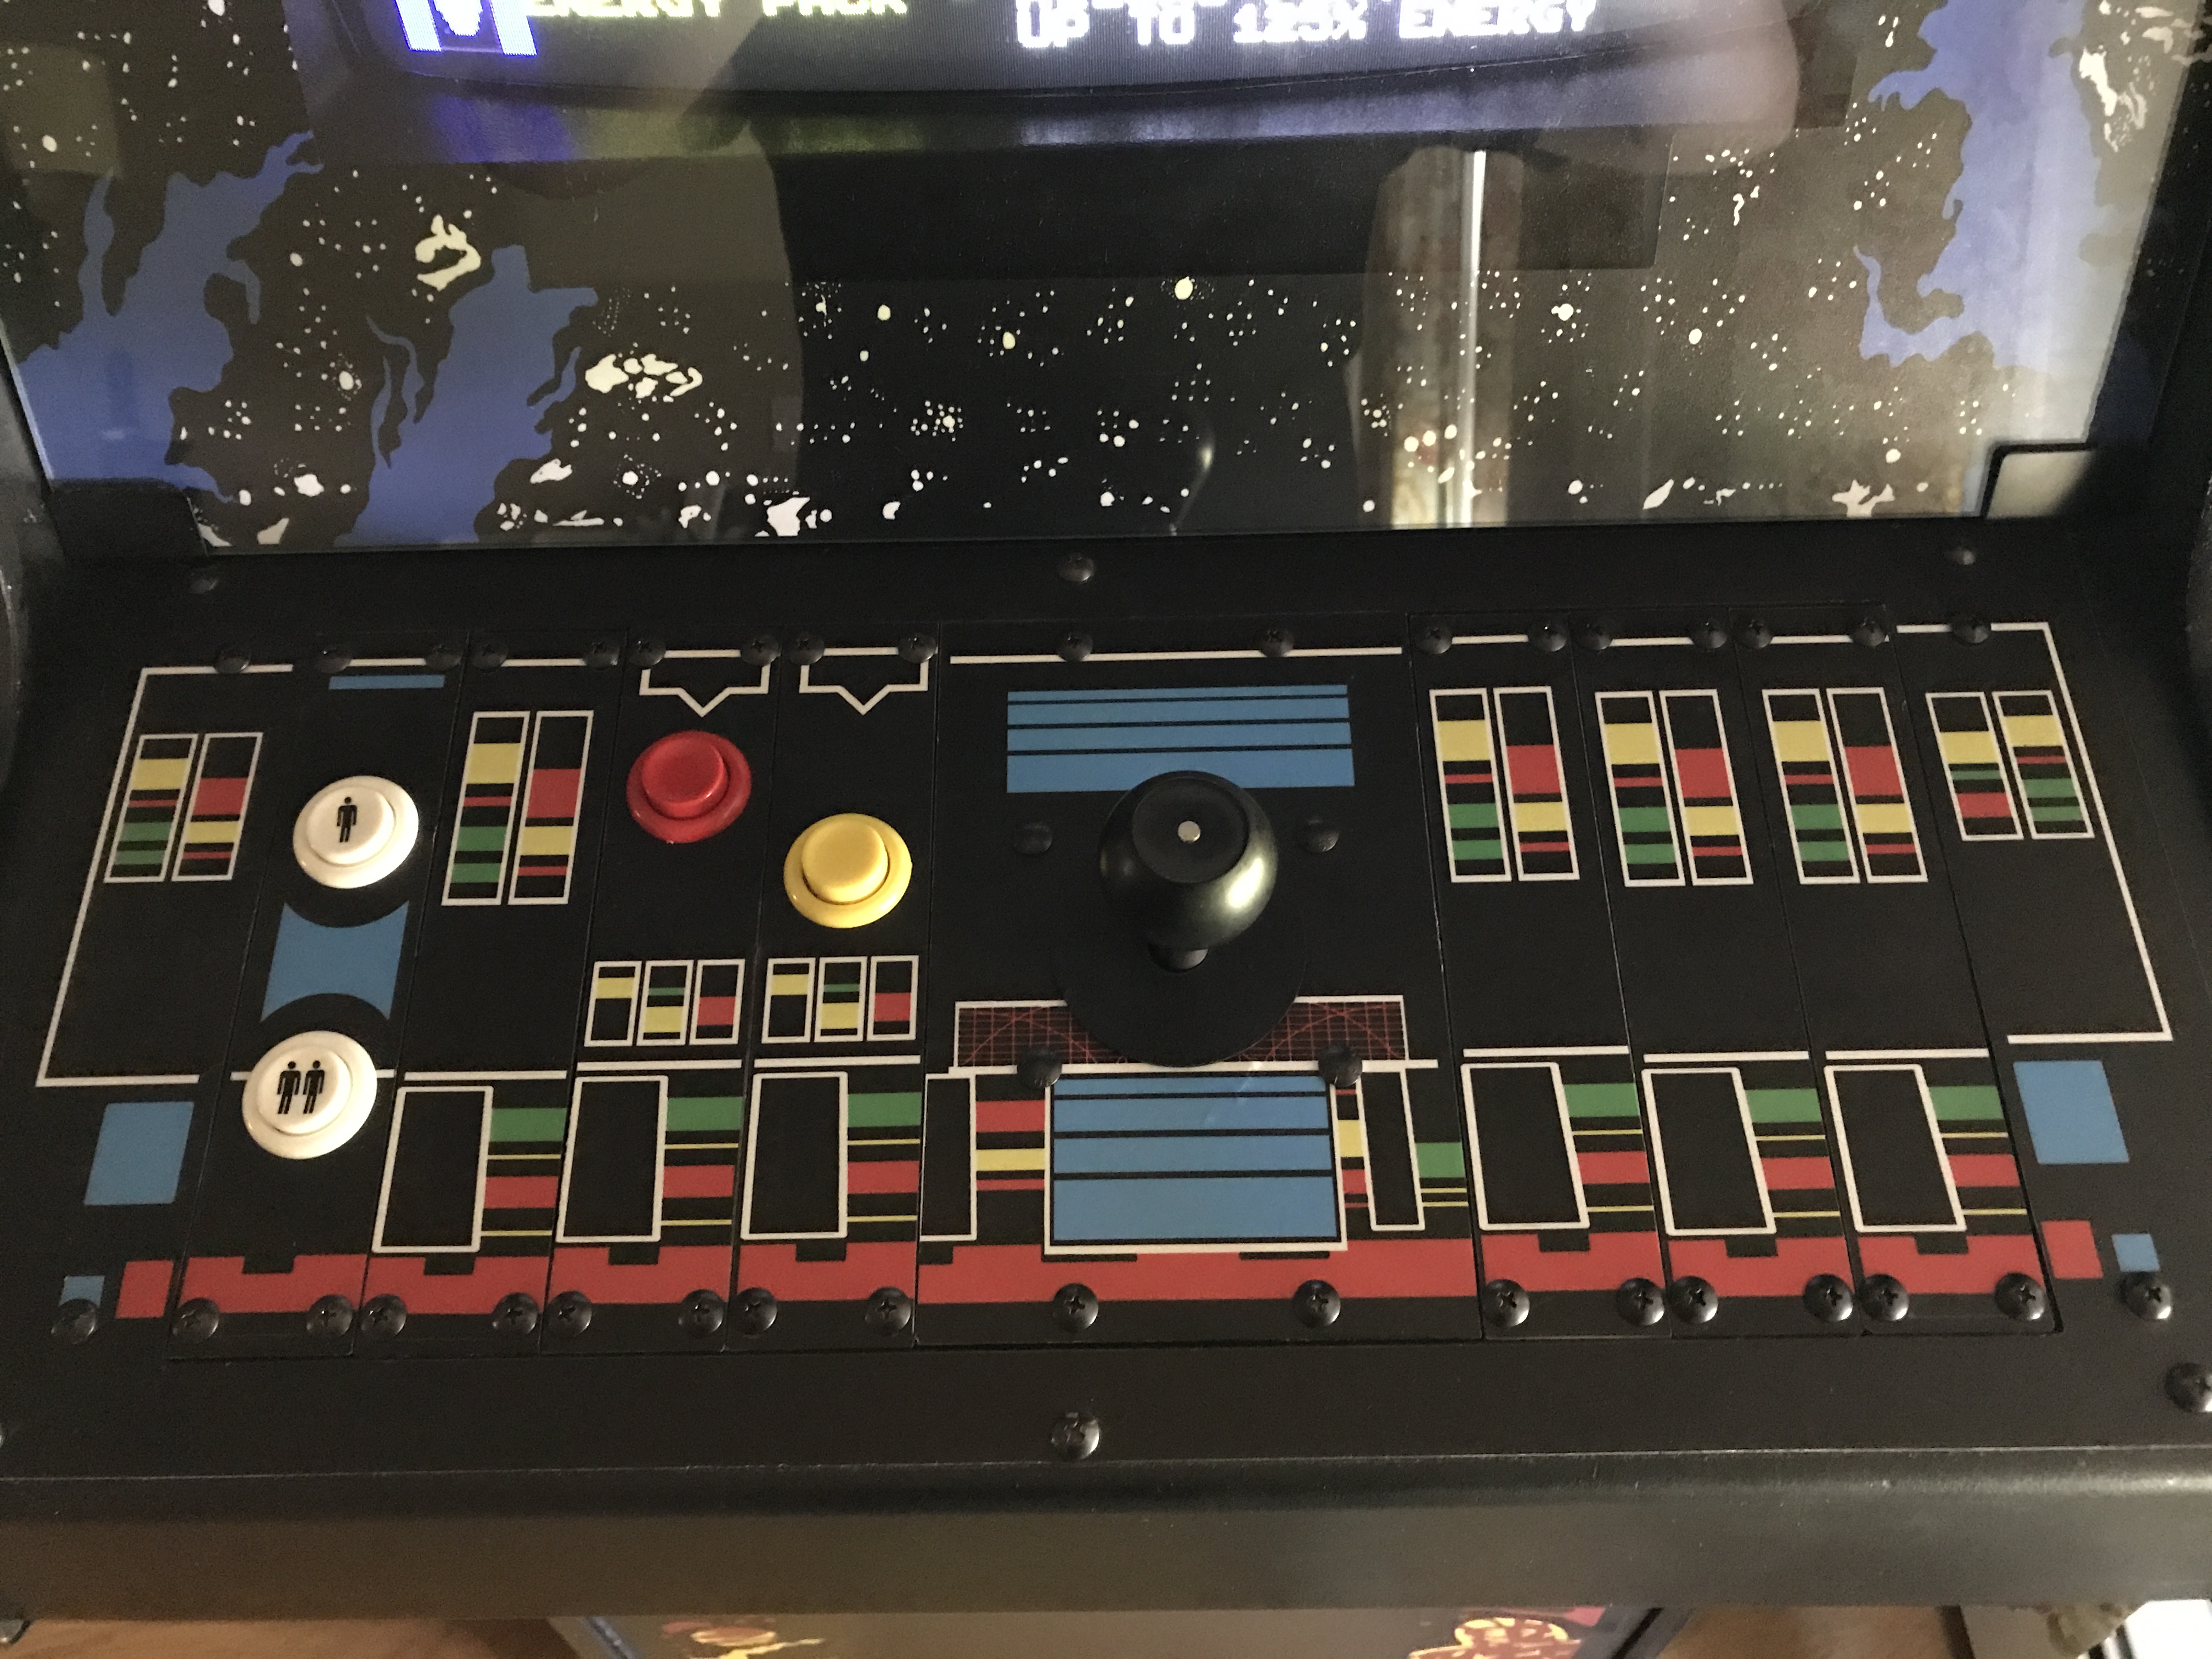
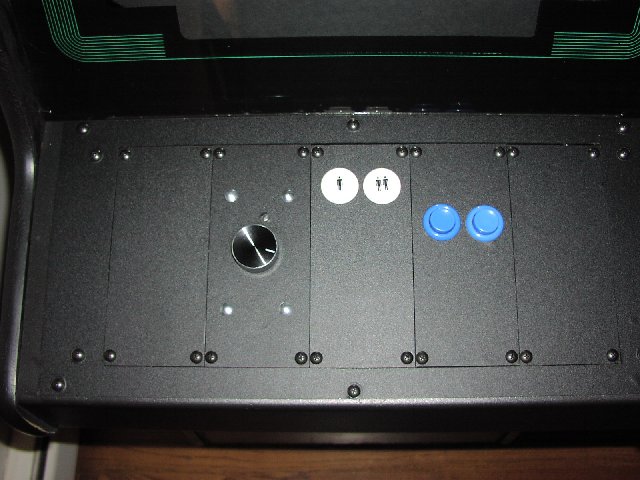
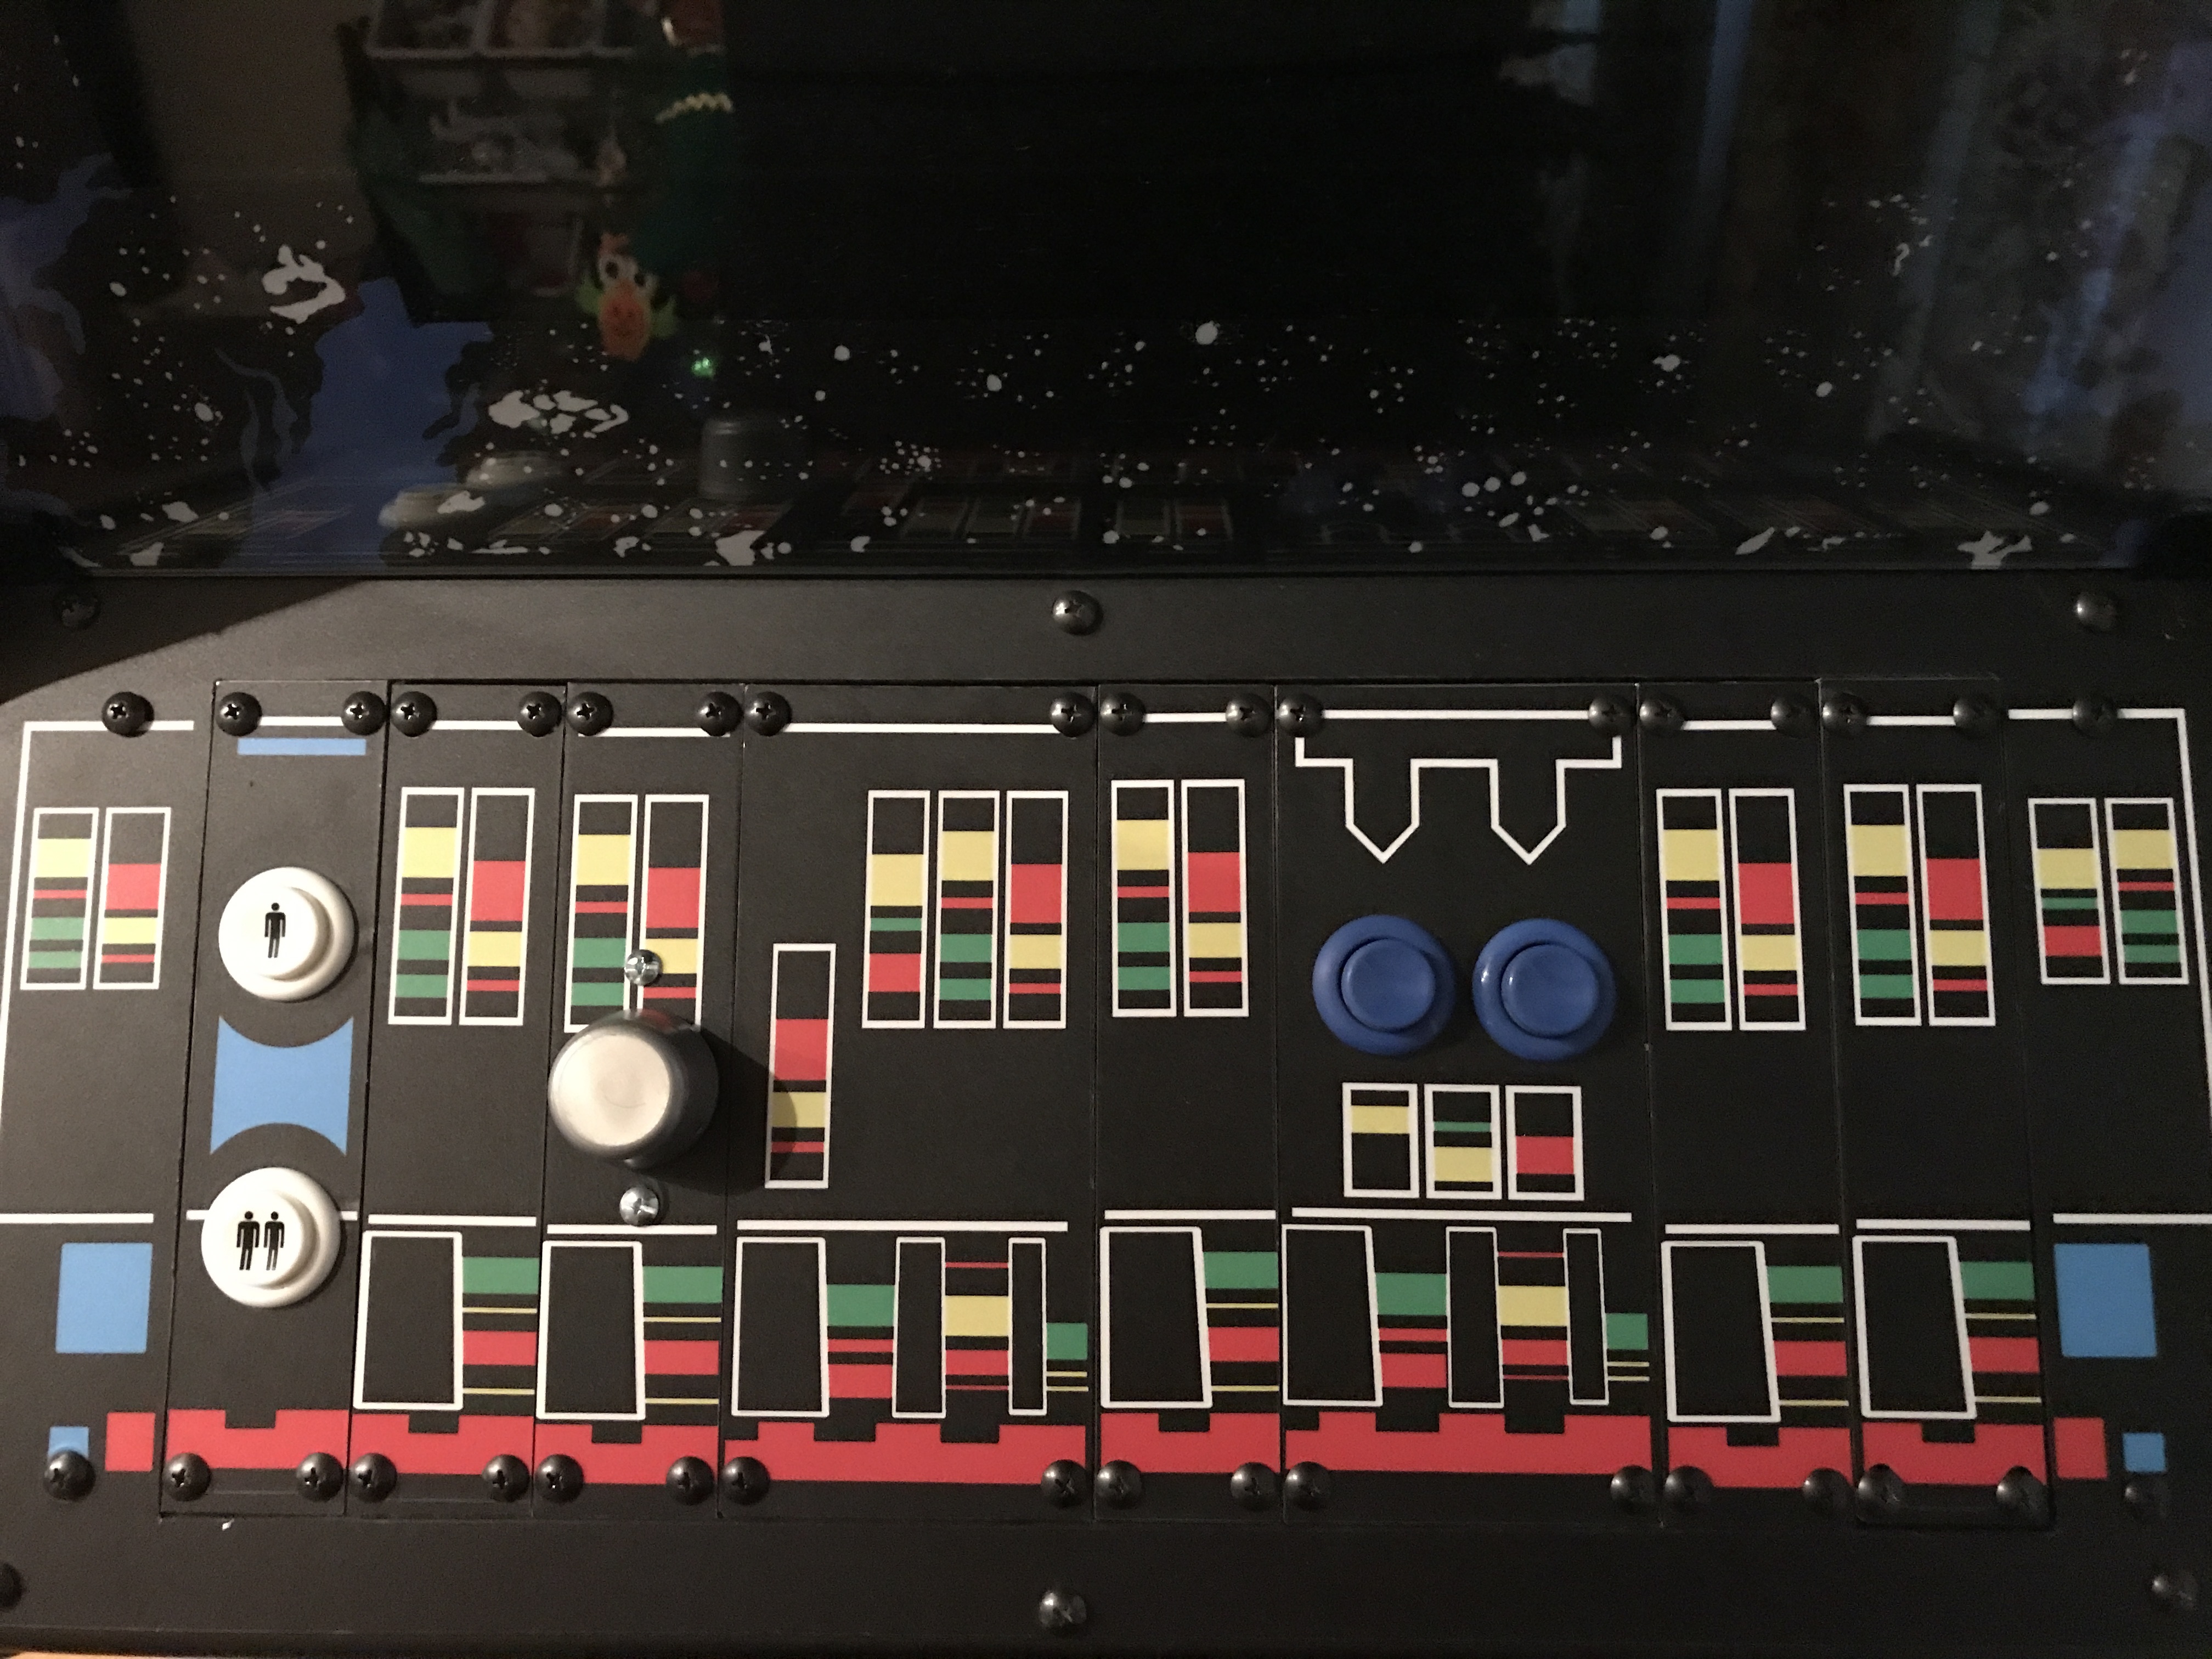
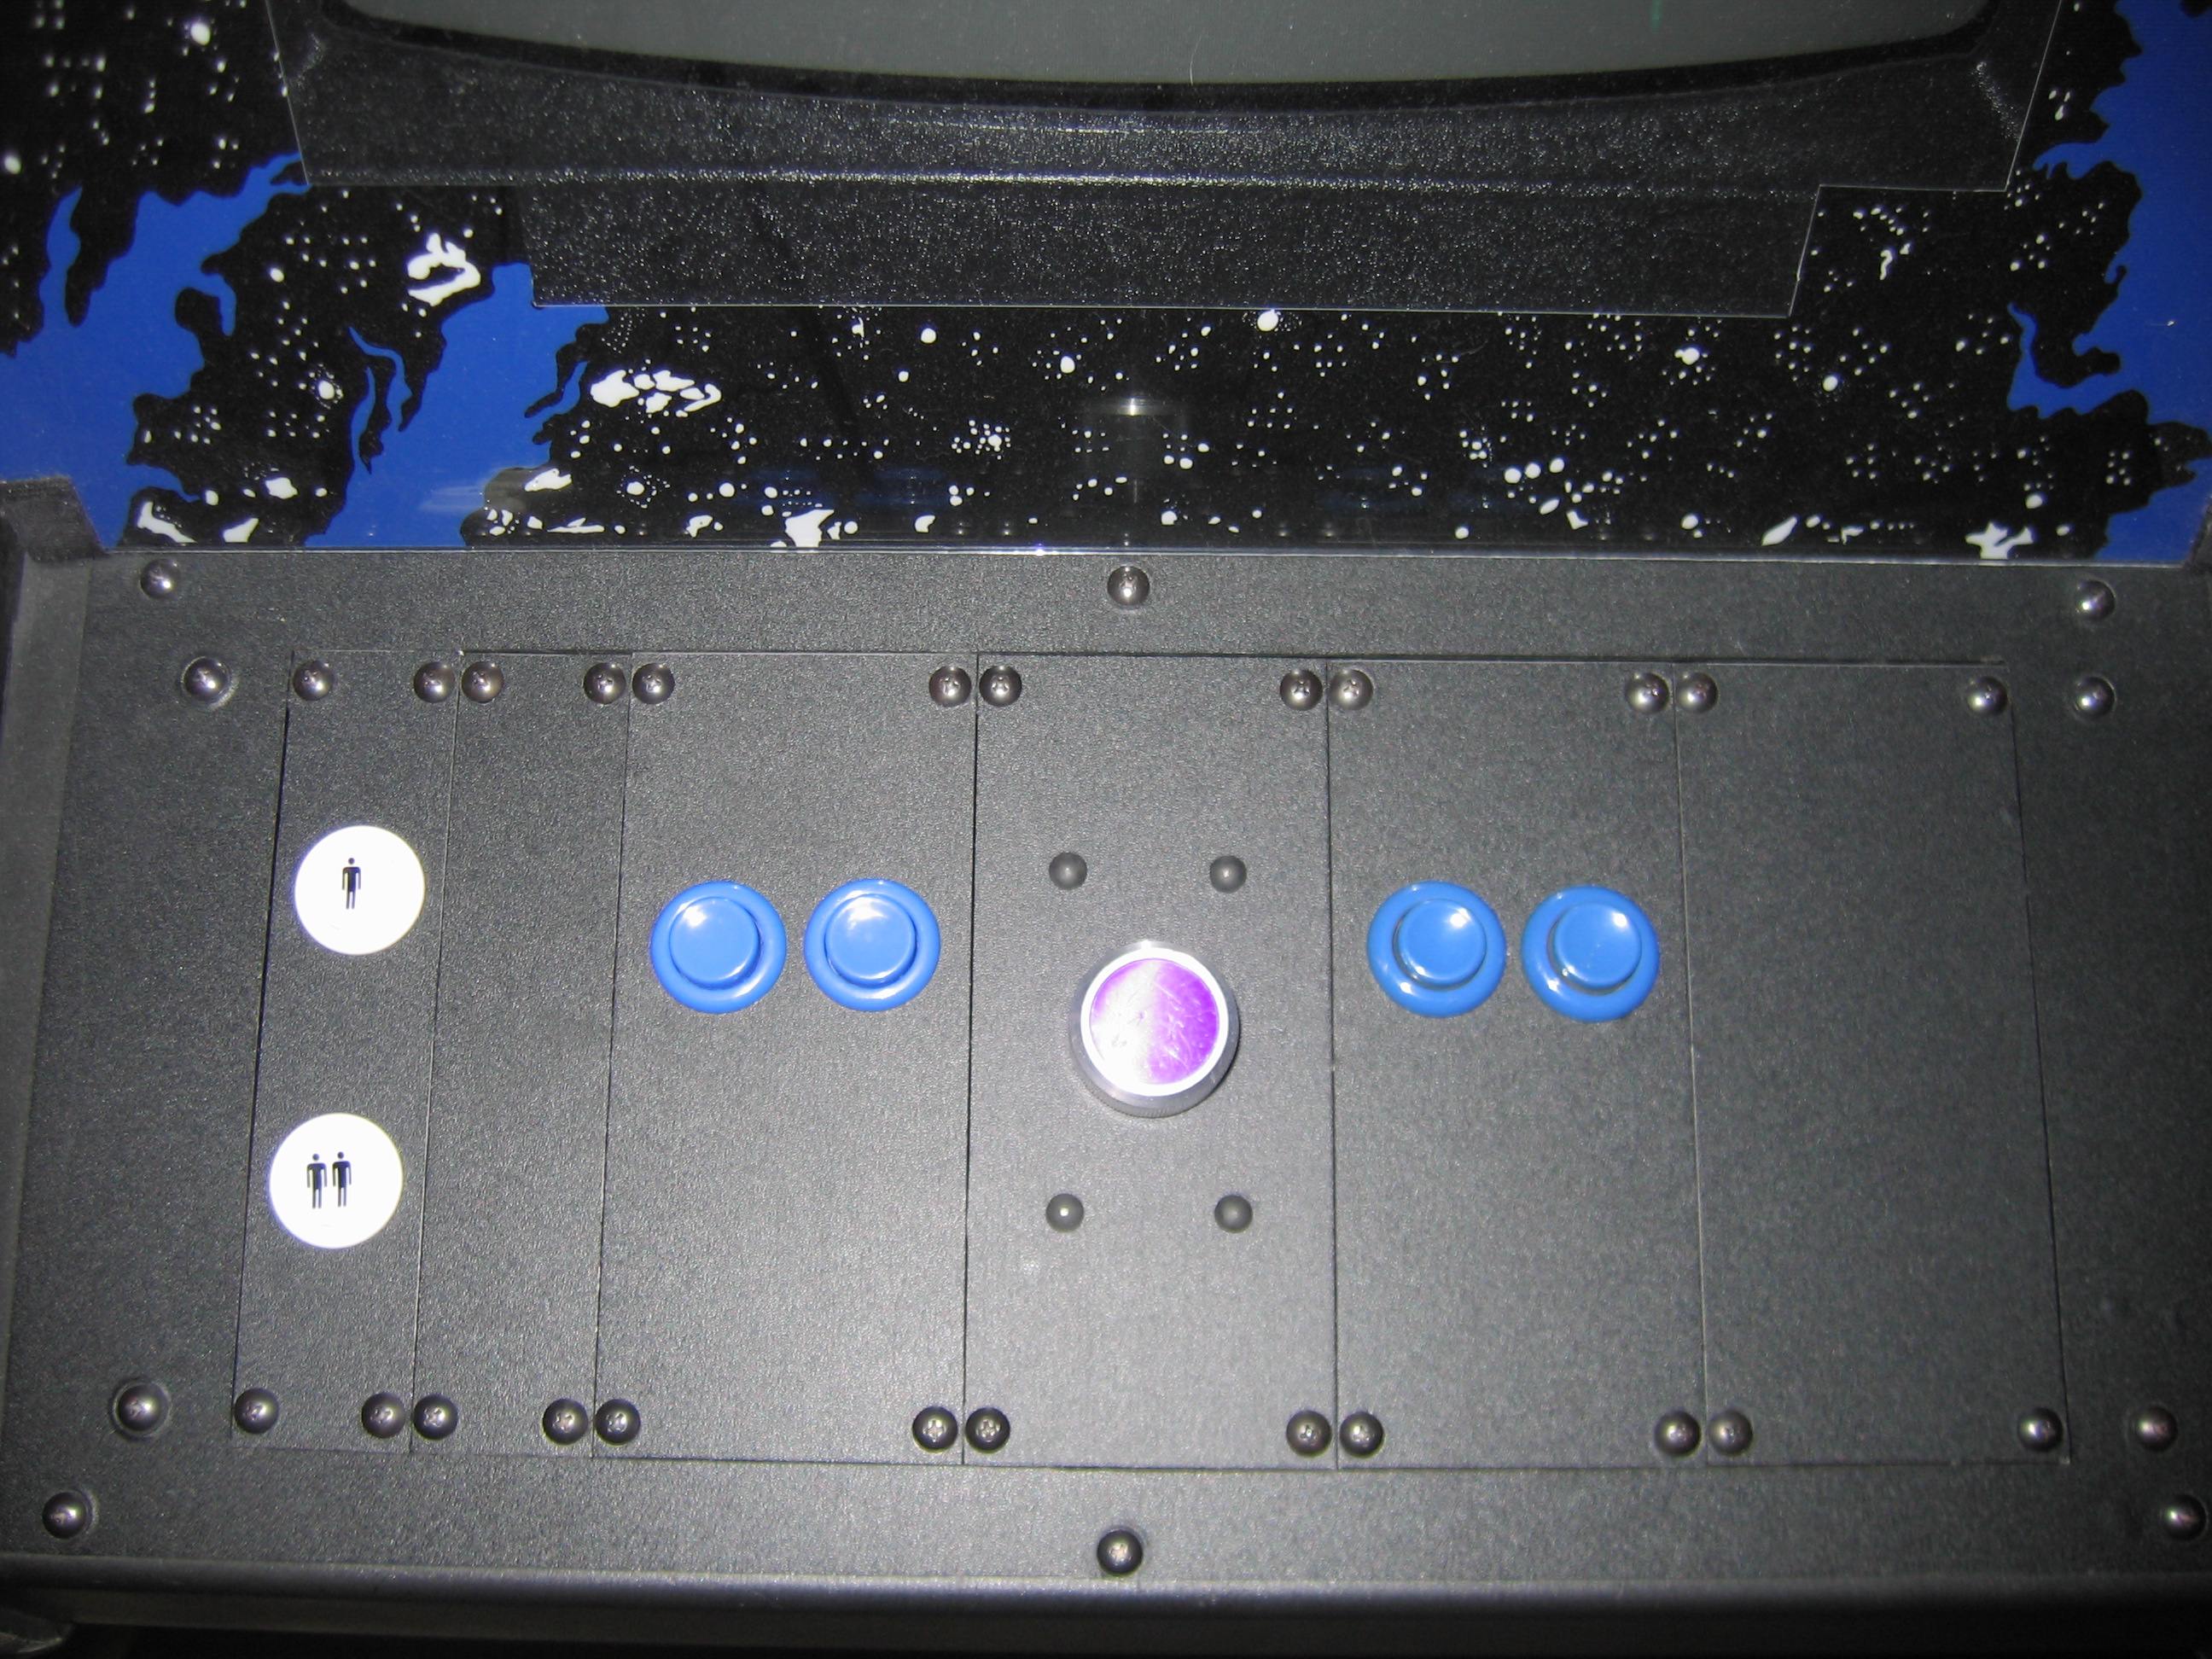
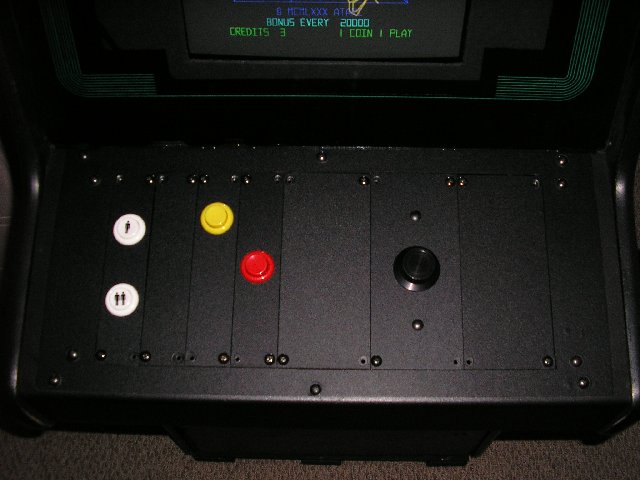
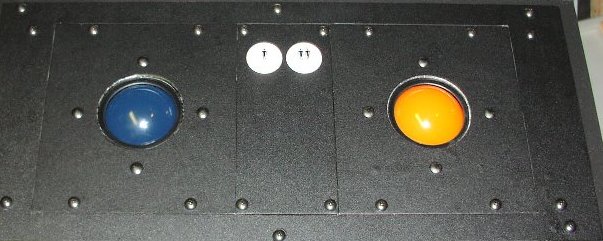
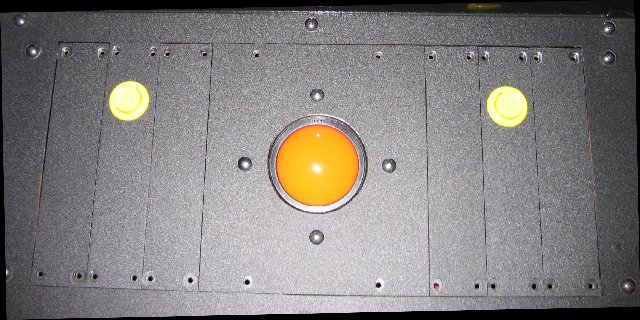
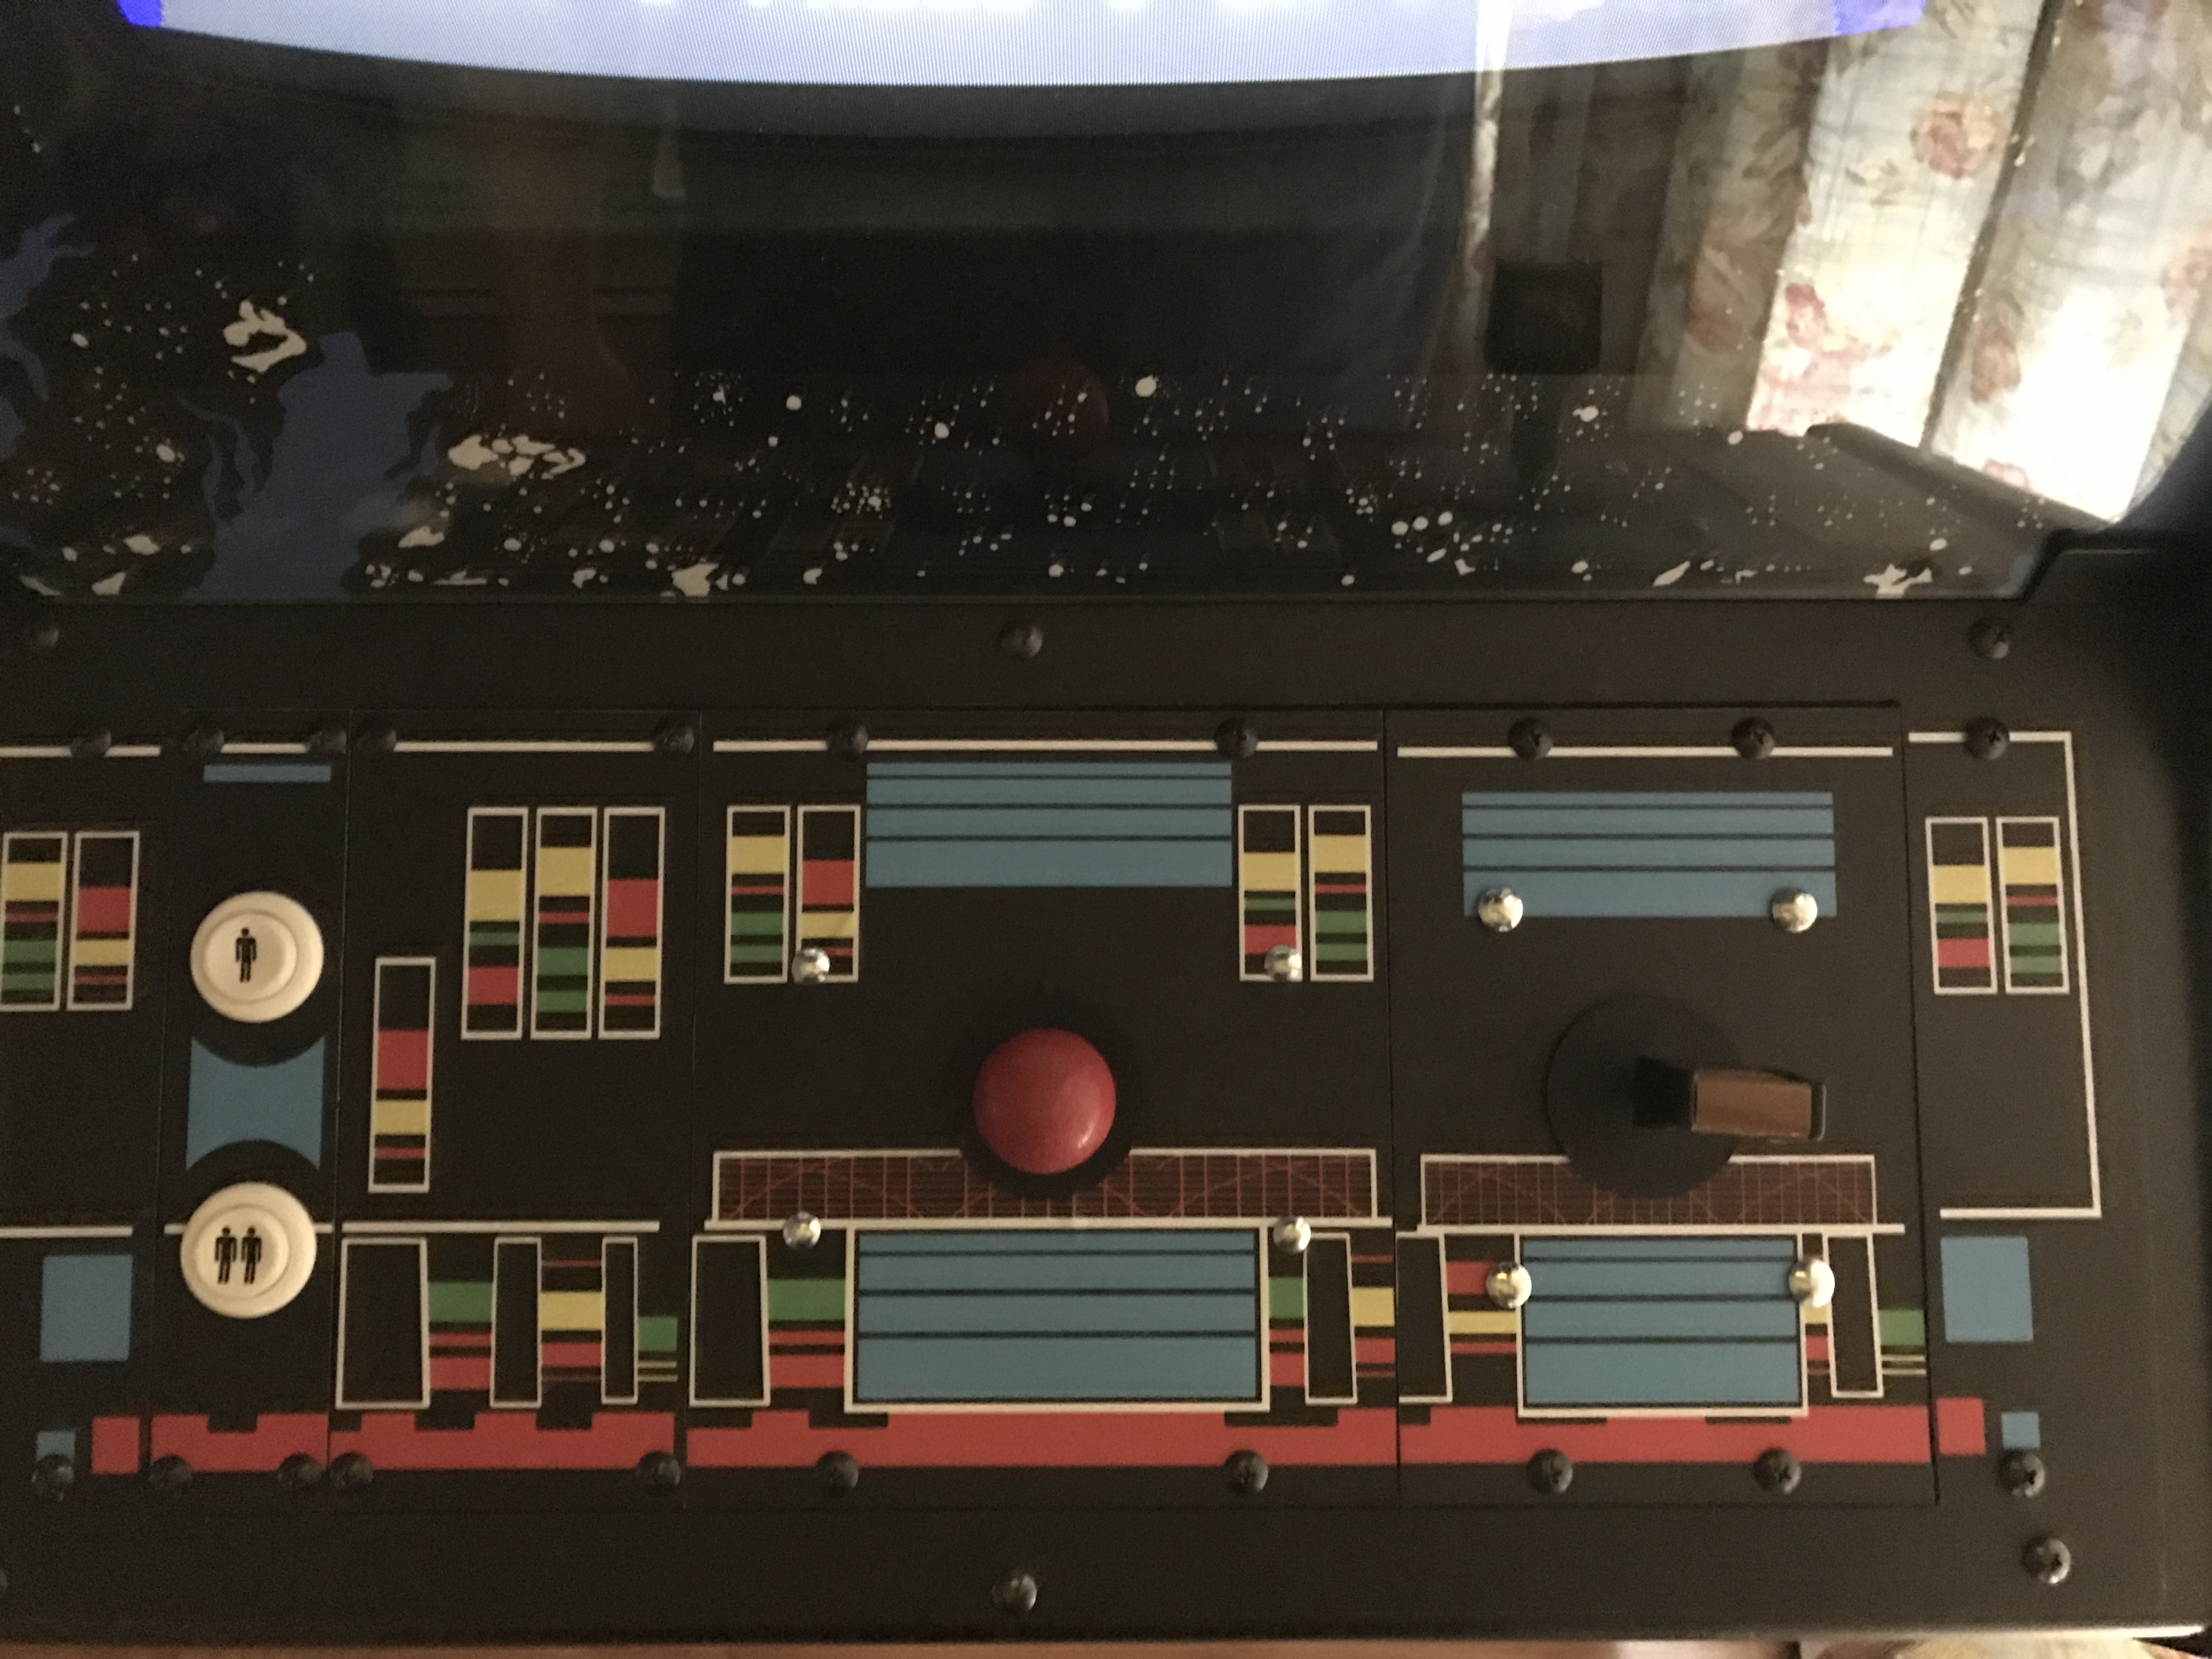
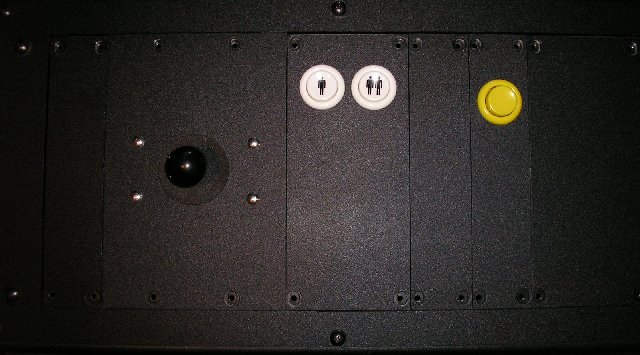
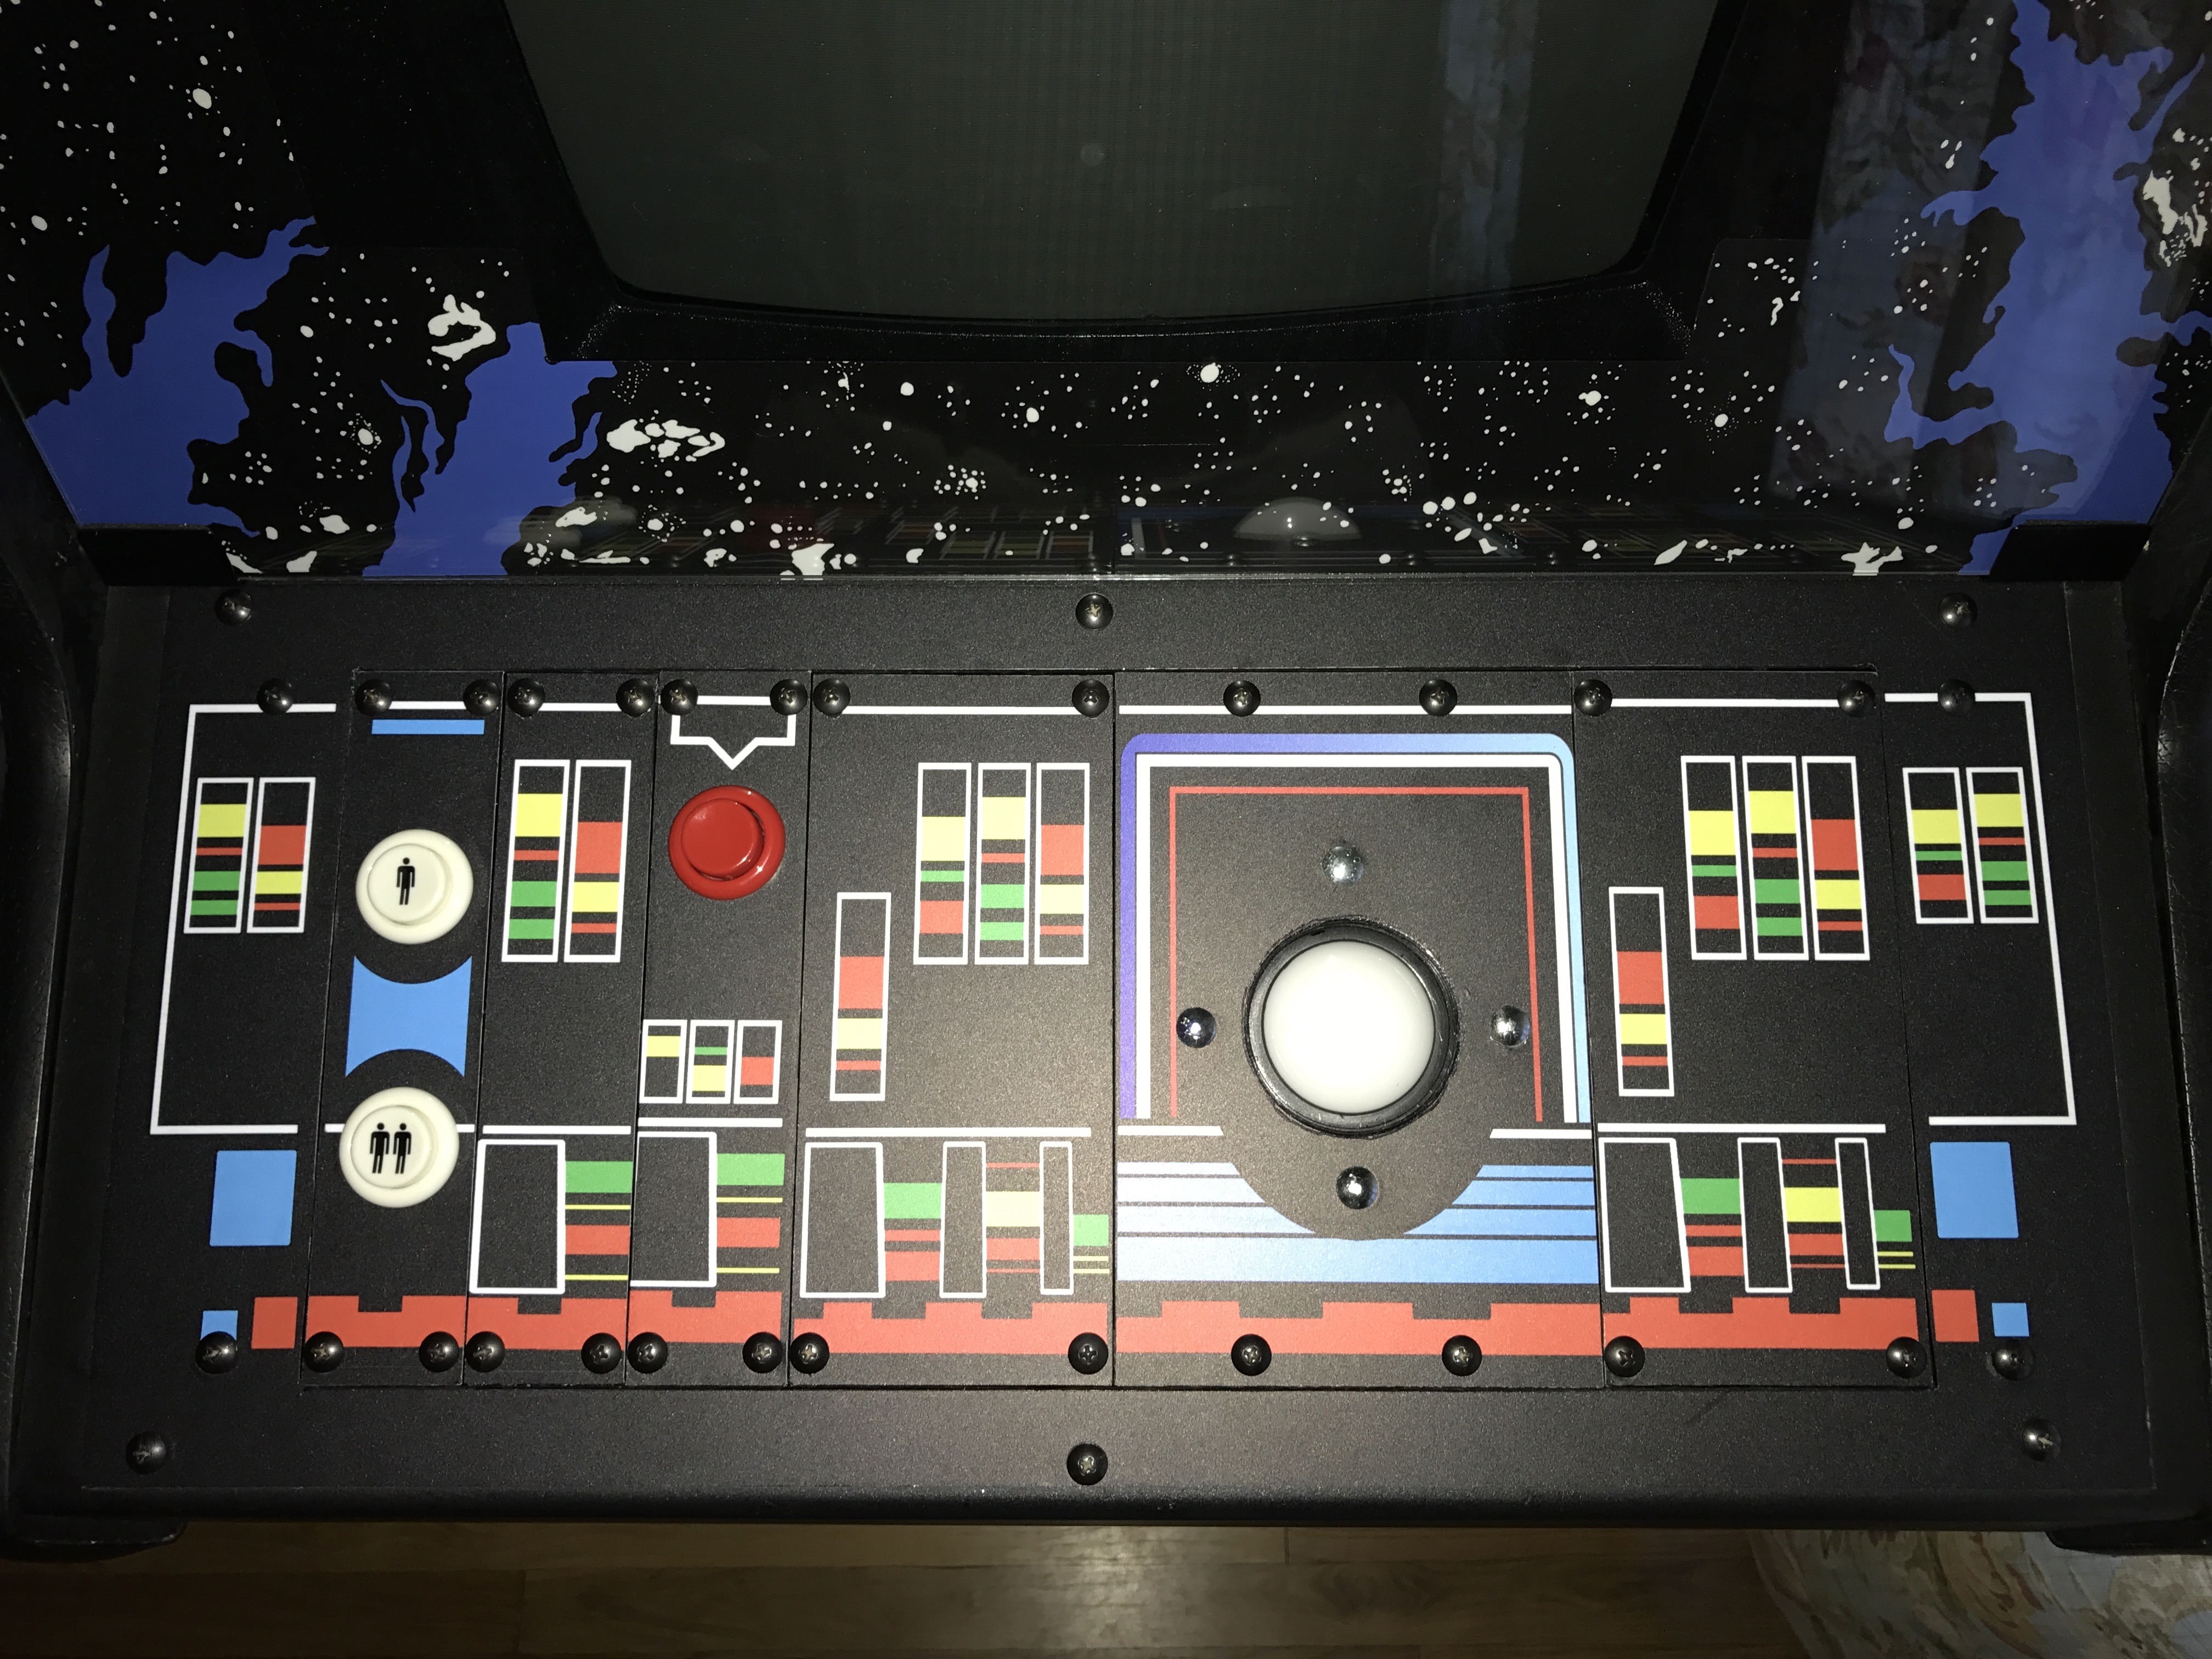
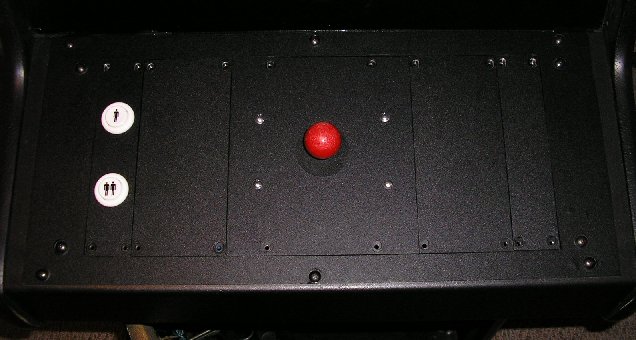
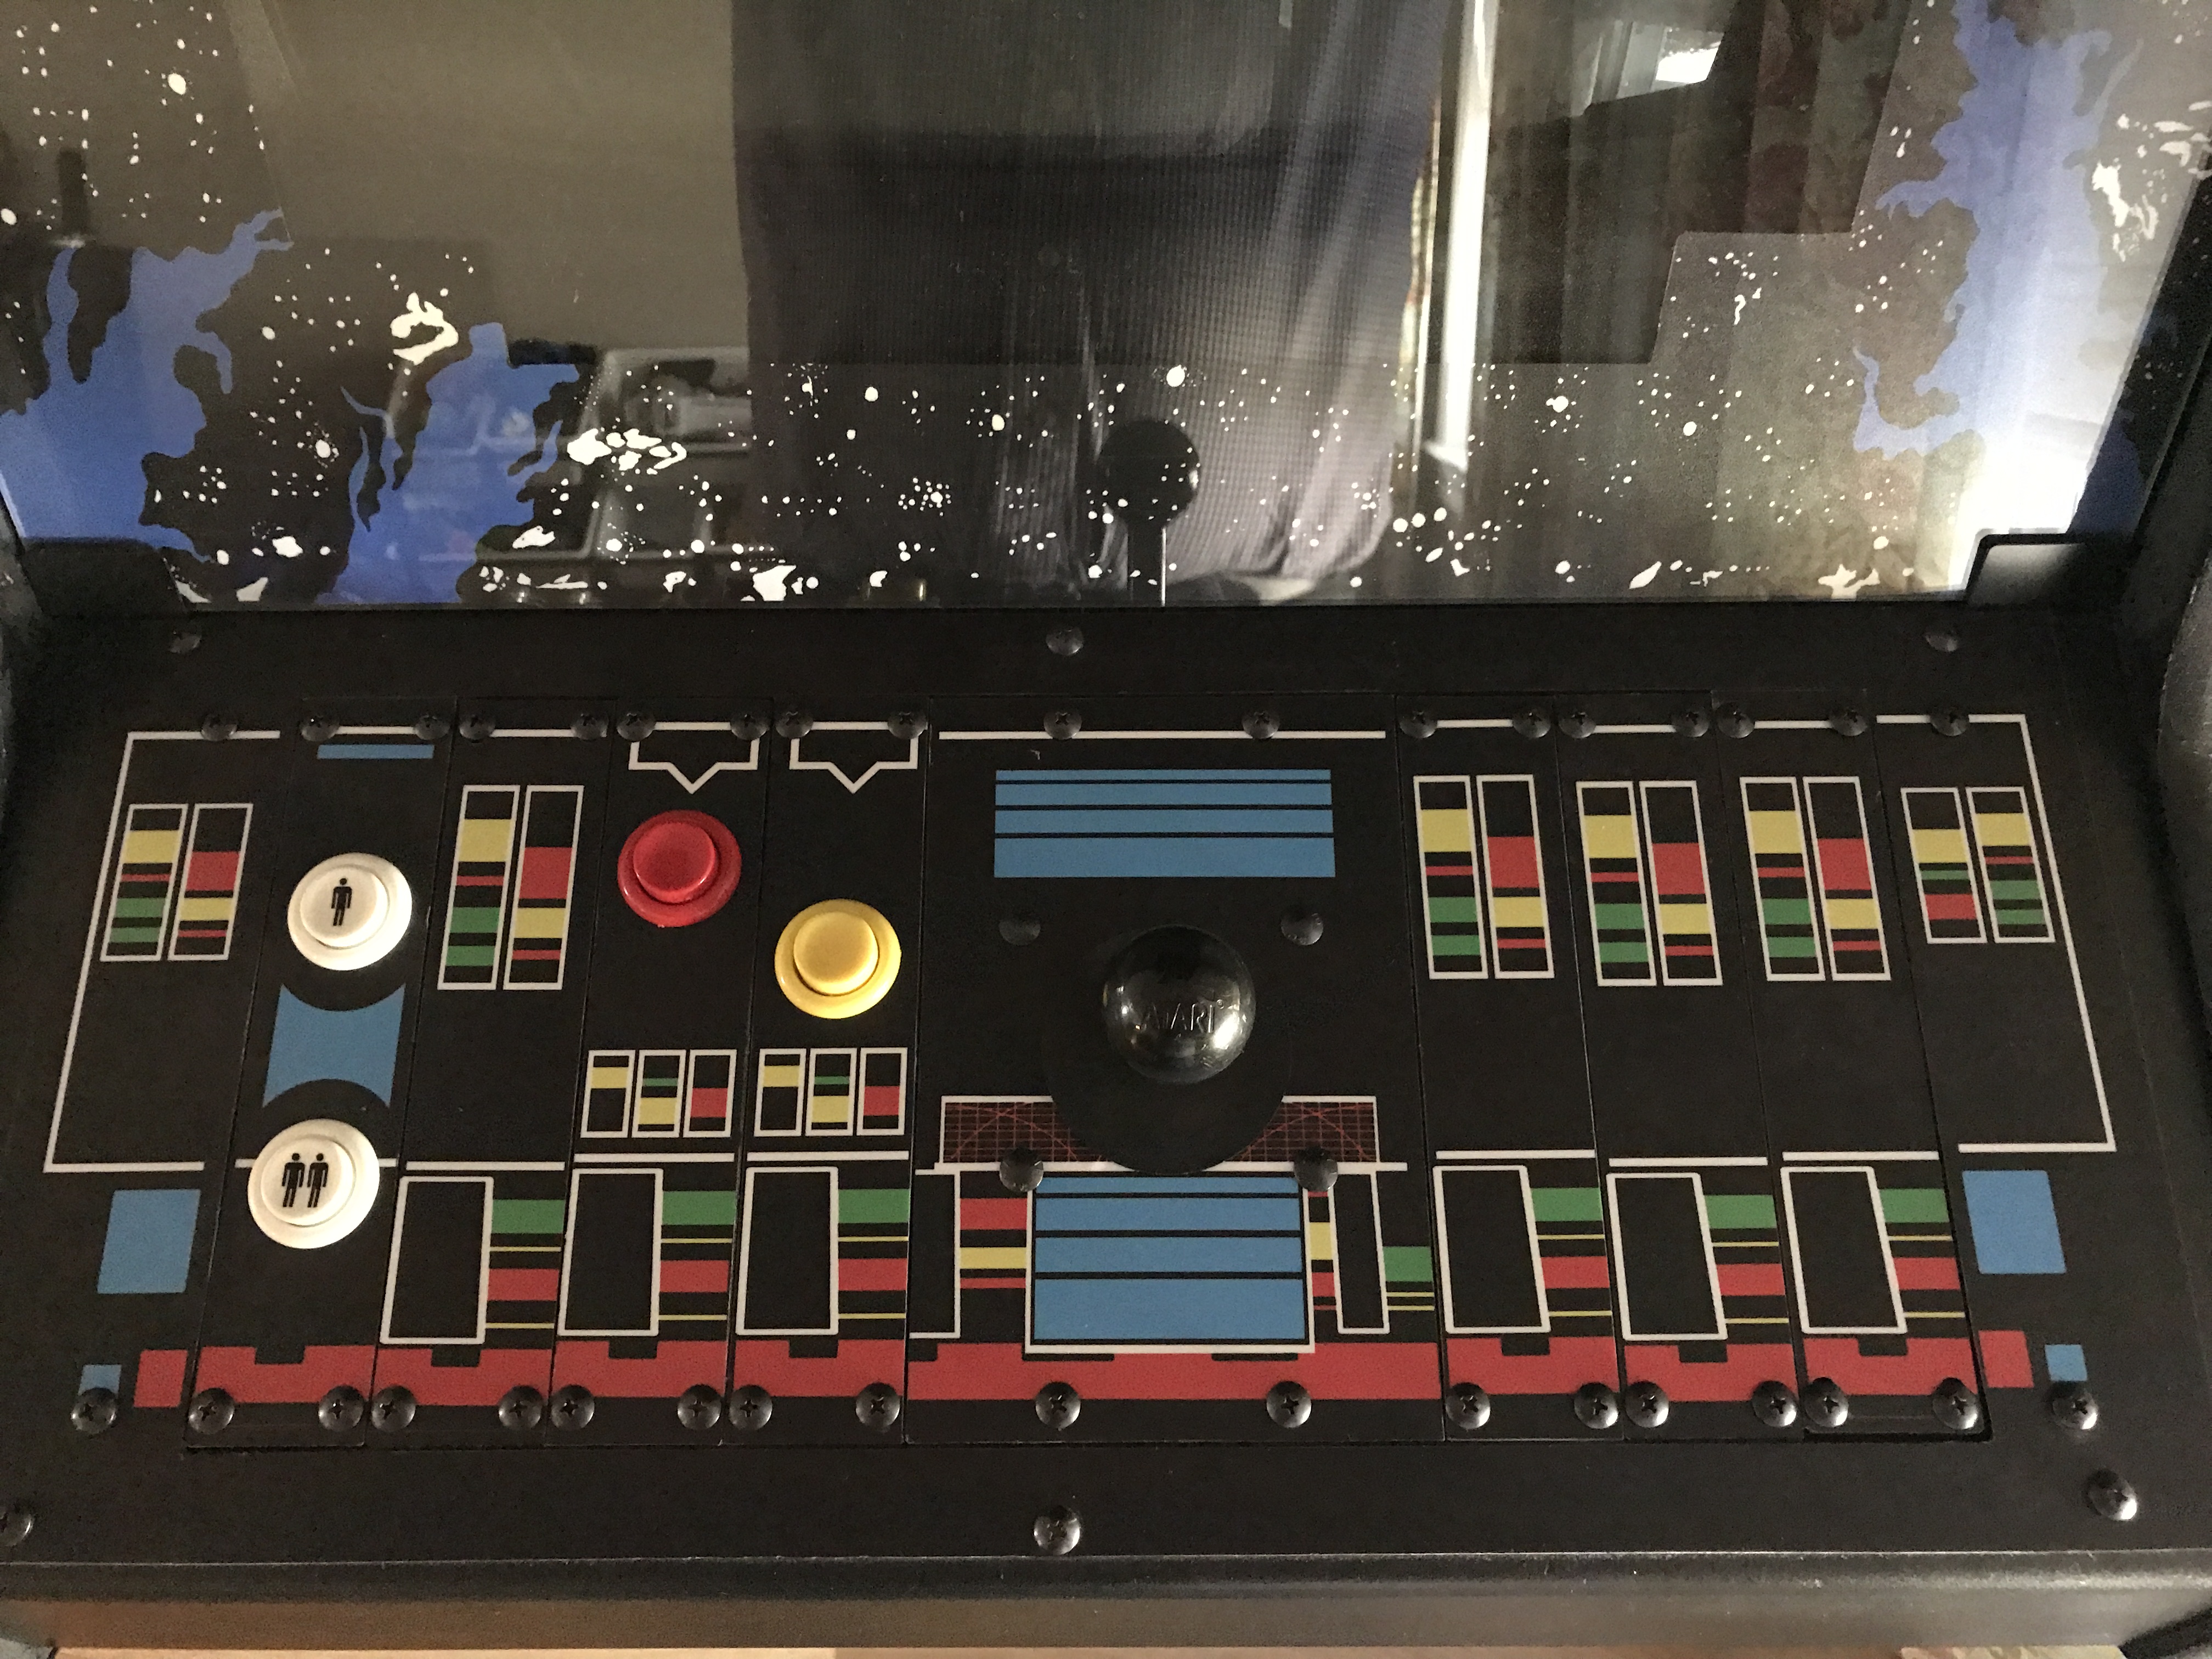
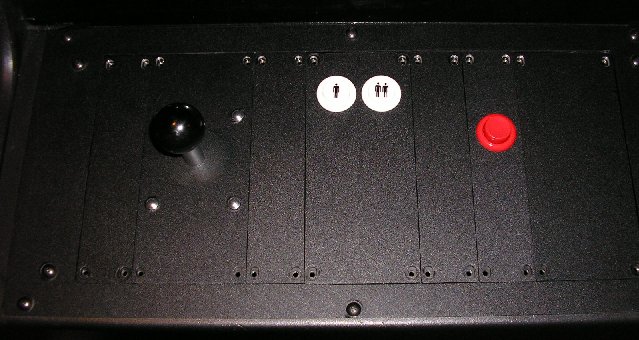
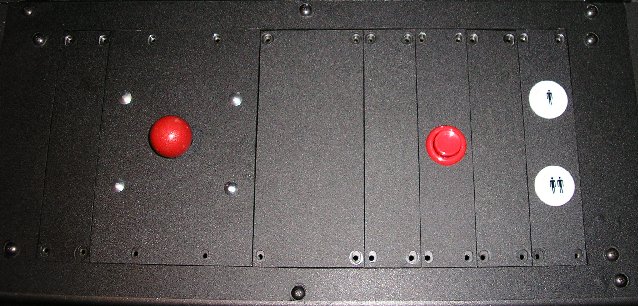
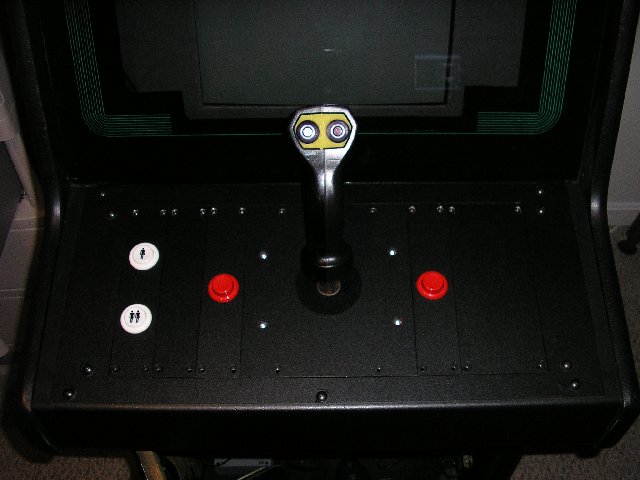
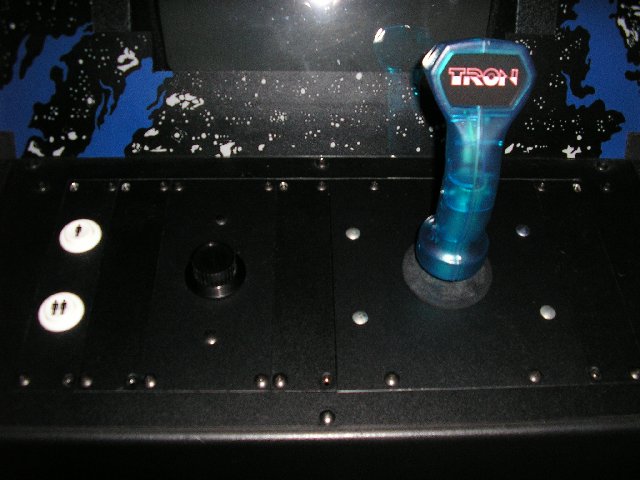
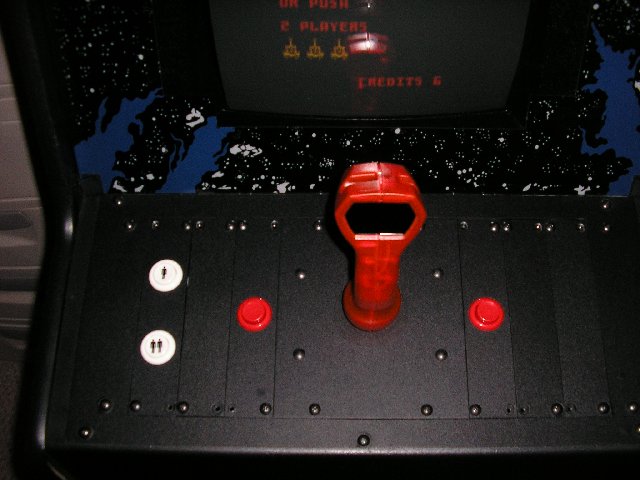
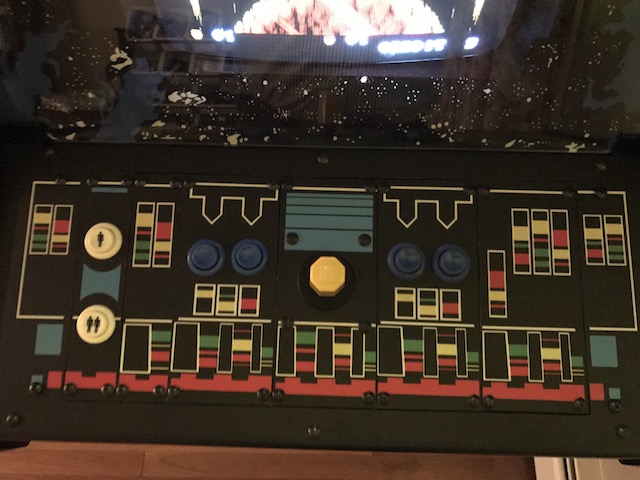
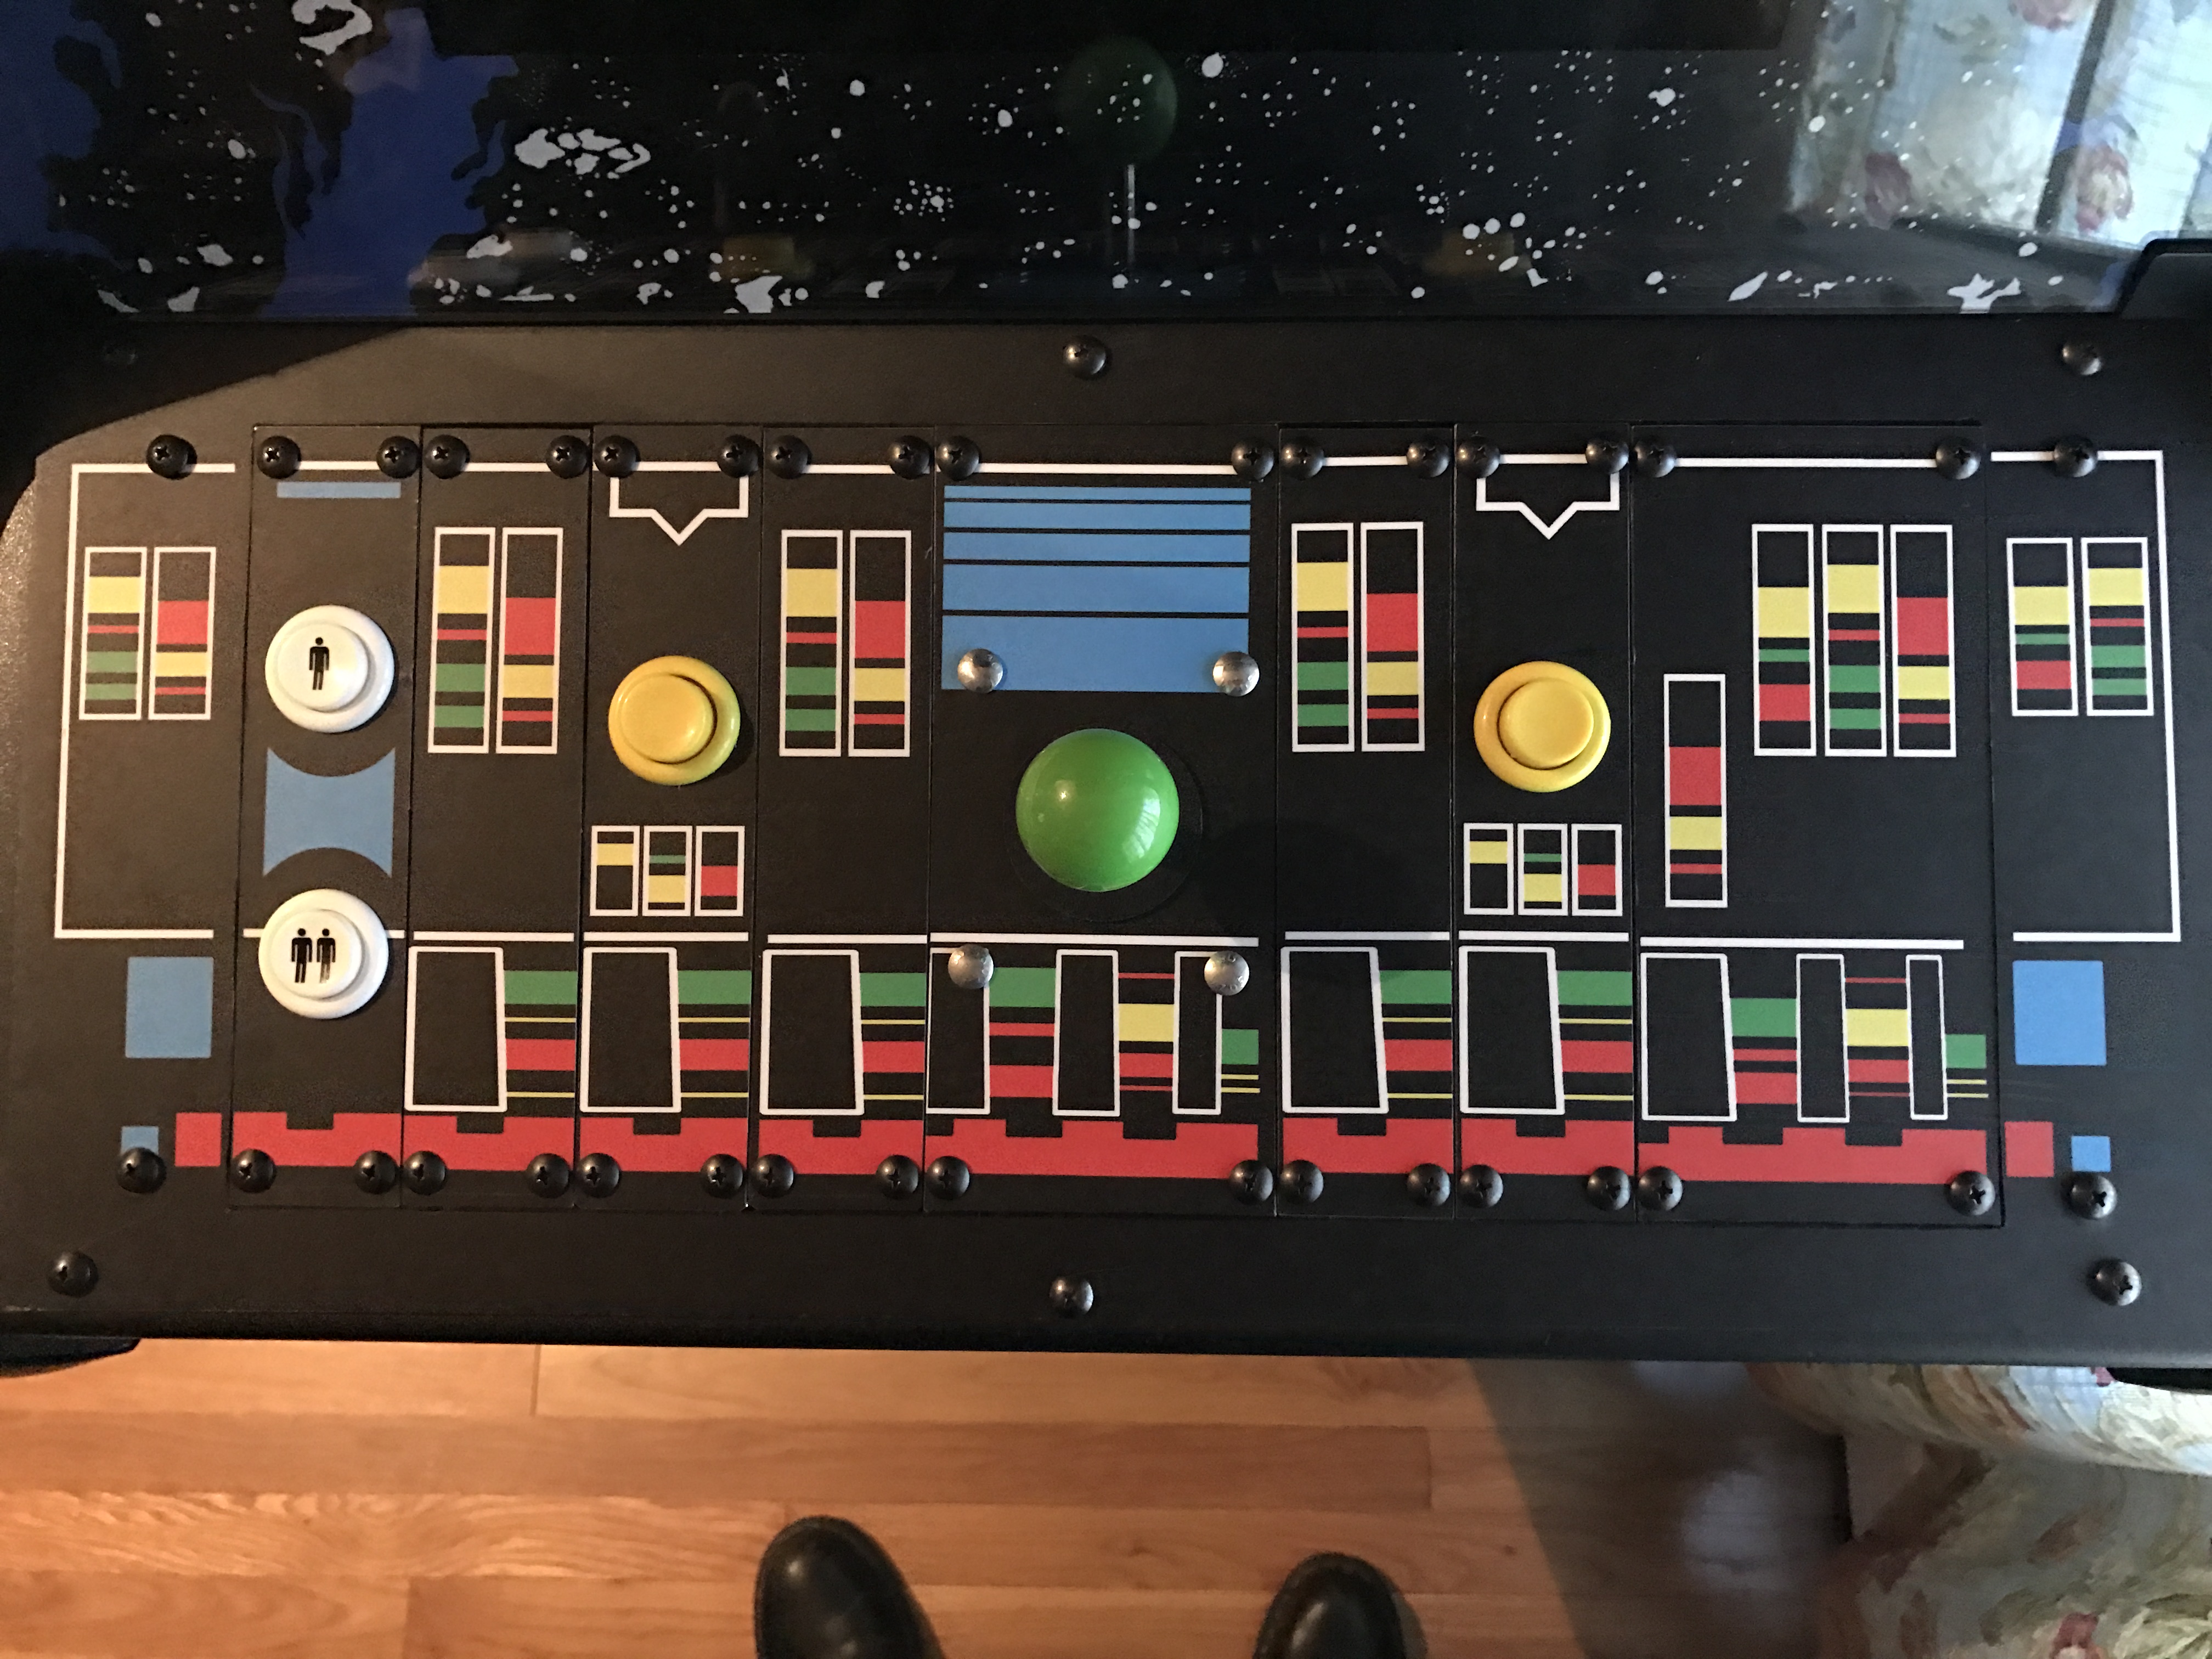
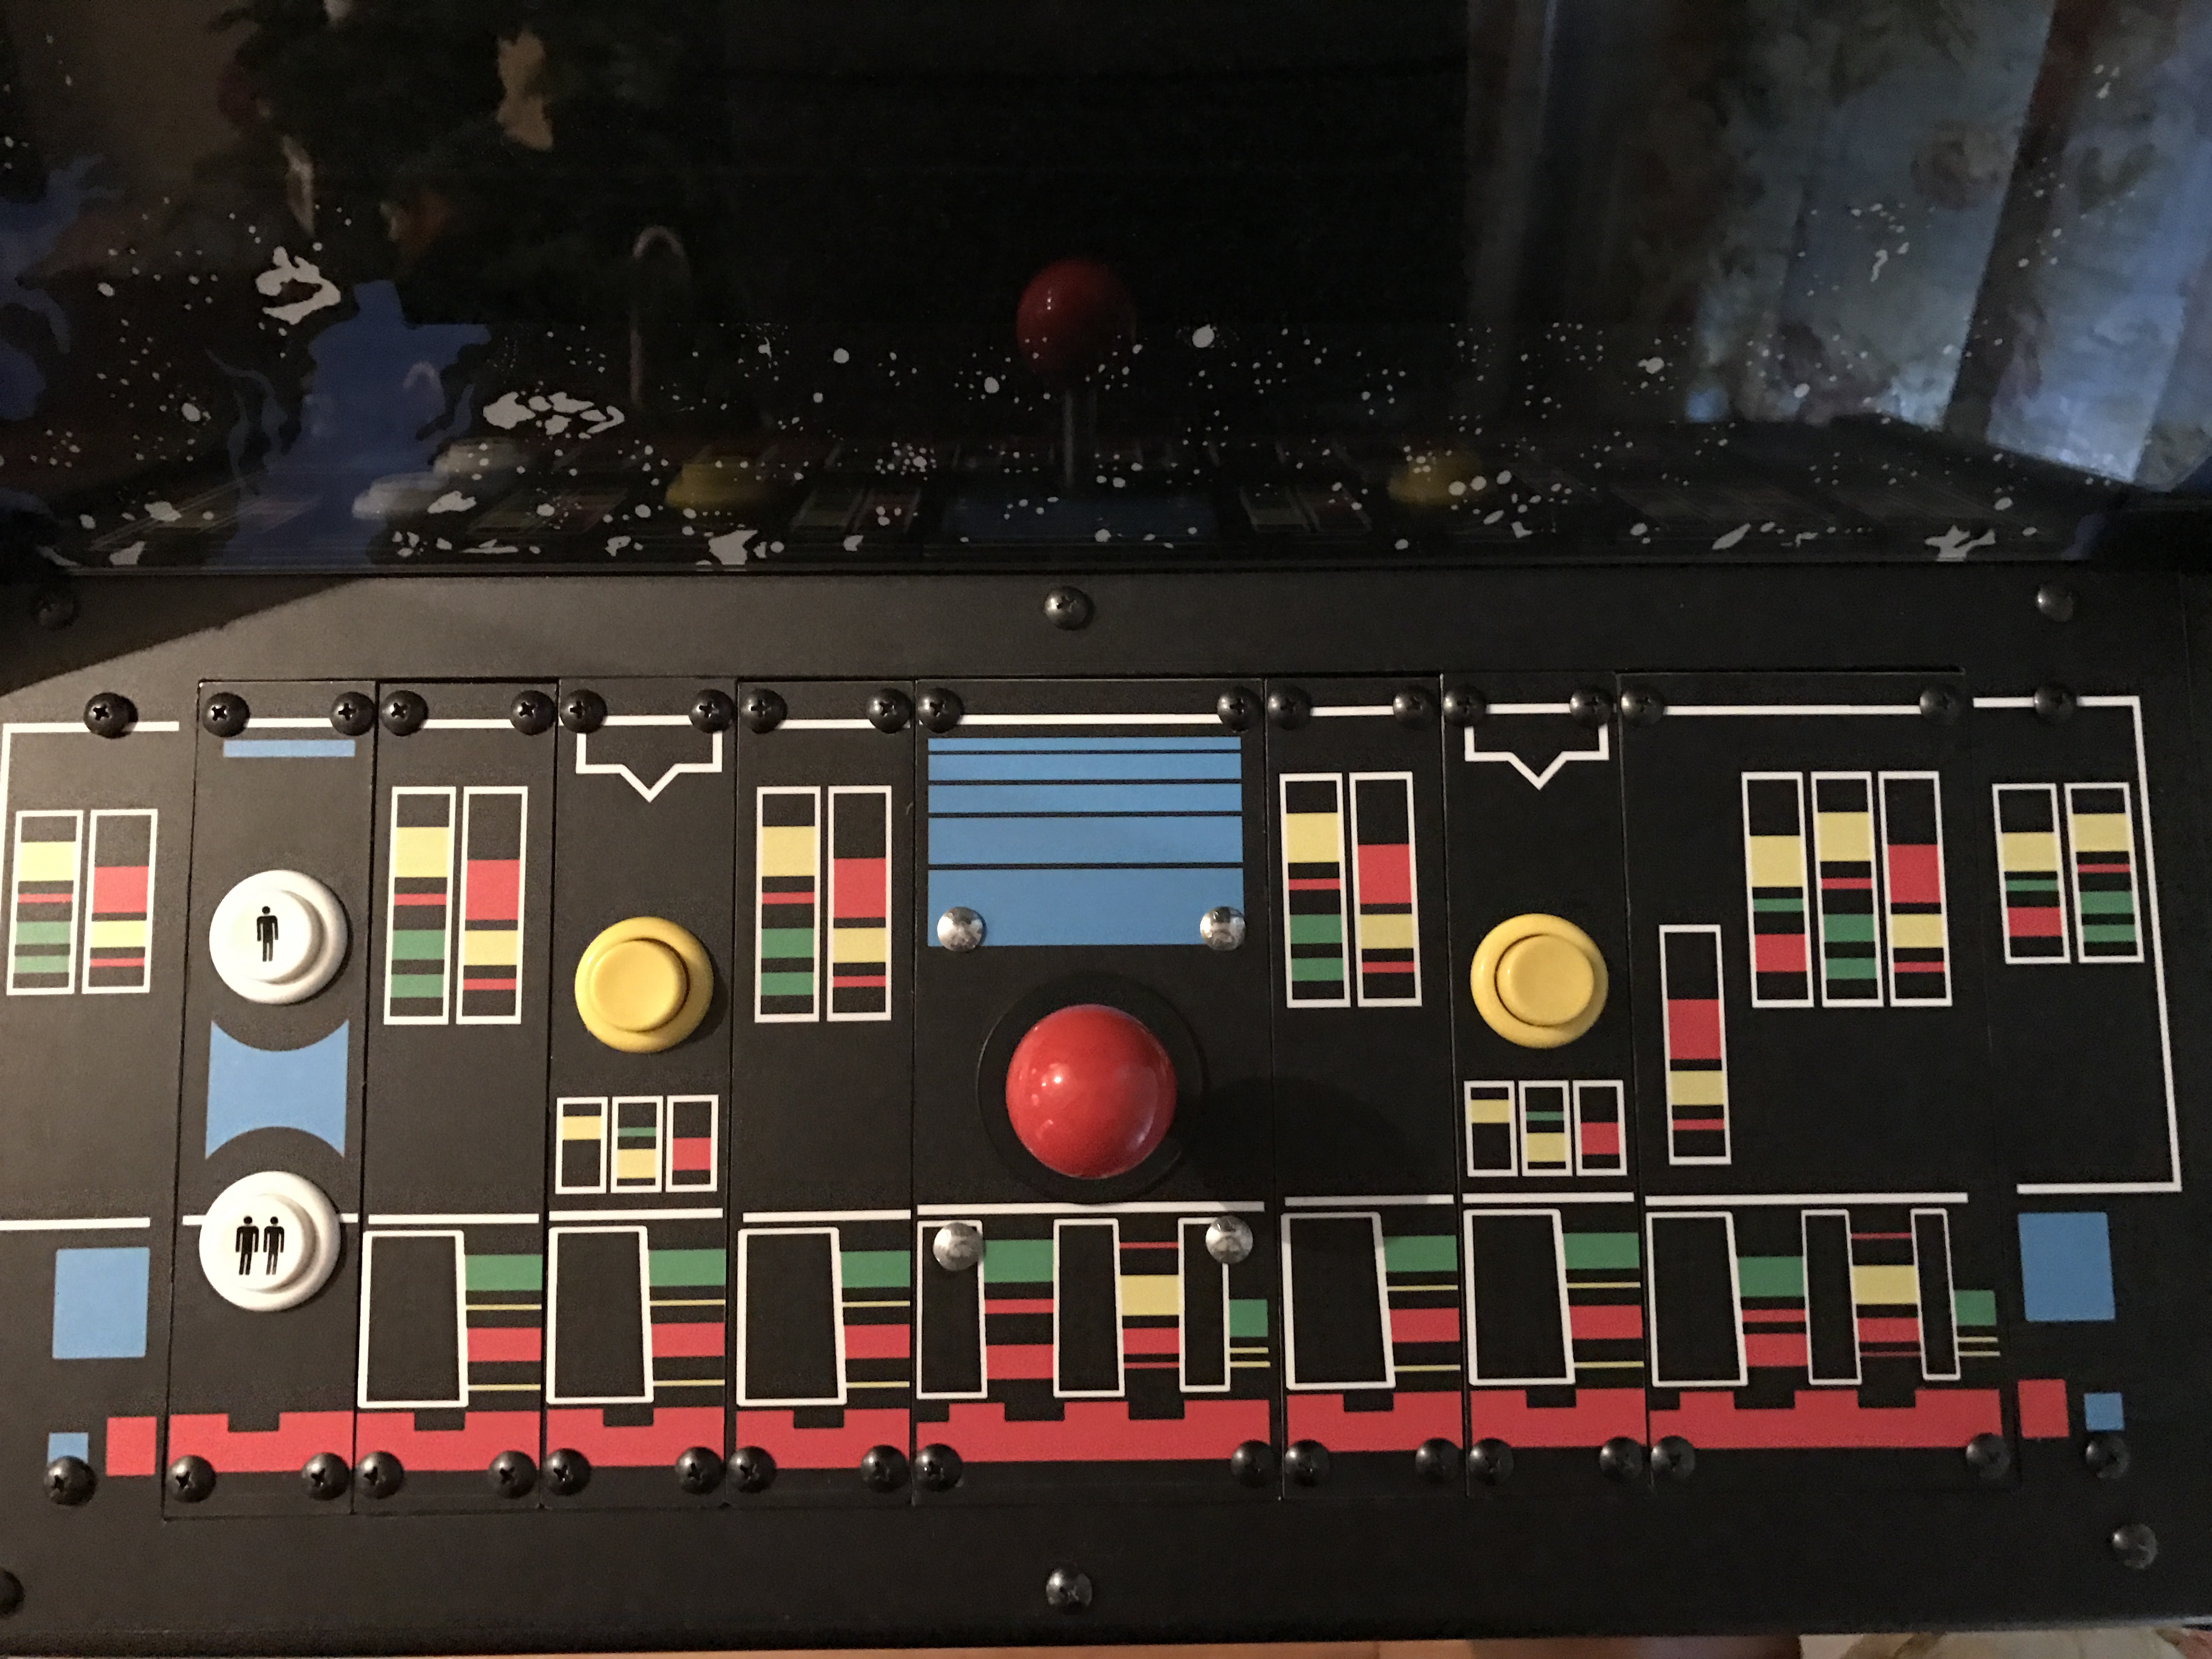
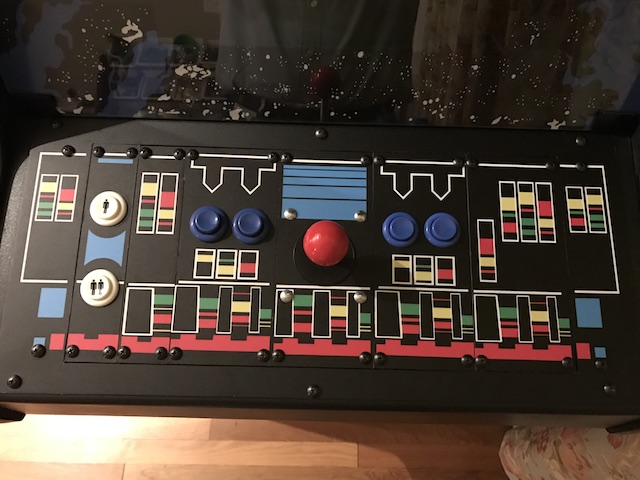
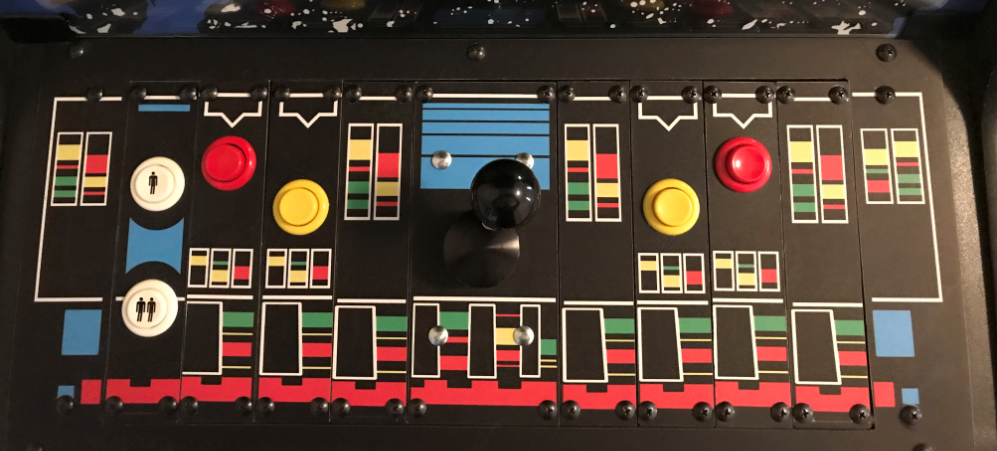
Here are some pictures of the control module layouts I've made so far. The modular artwork was done a long time ago by someone on arcadecontrols and I recently (2016) cleaned it up and had it printed on vinyl w/ polycarbonate protectant on top. Looks awesome.
|
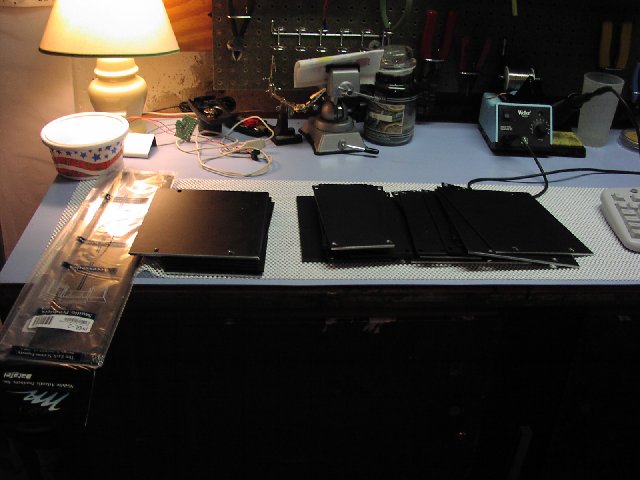
Storing my older panels was quite a pain. Using modules makes it a LOT easier. See for yourself.
|
|
These are some of the controls I have bought that I still need to make modules for |
|
|
|
I used leaf style switches for everything except for the pinball buttons and the 1UP/2UP buttons. In my opinion there's no comparing them to microswitches. The clicking of the microswitches was really annoying. All old arcade machines as far as I've read had leaf switch types and they're getting harder to find these days. They also require a little TLC to work just right. |
|
For interfacing with the computer I used Ultimarc's IPAC, OPTIPac, and APac. I also use a GPWiz-49, an interface for the SNK joystick, and a PacDrive. No fuss, and all work very well with MAME. |